
Blooming
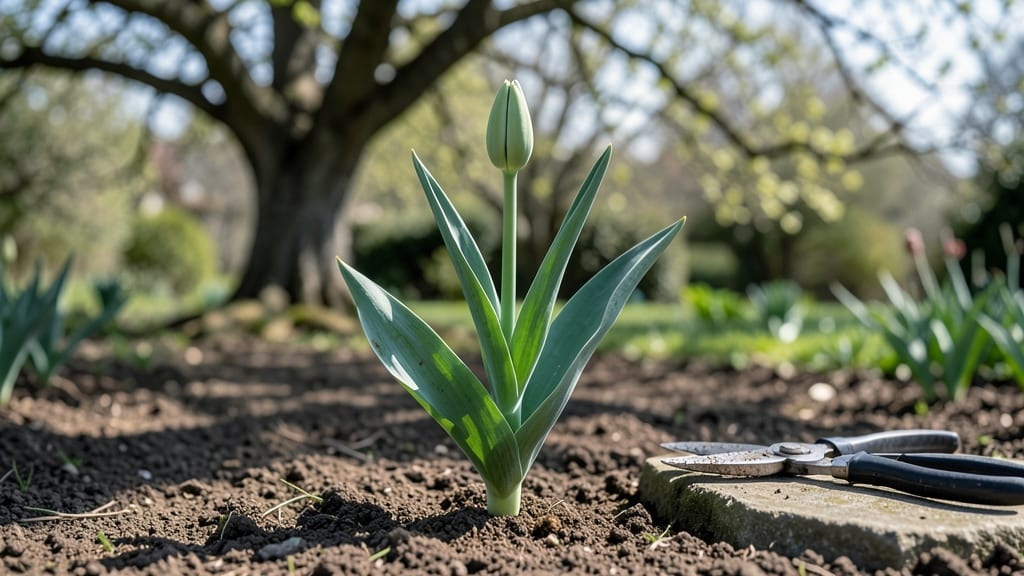
The tulips before bloom look like tiny green marbles, but with the right tricks, they’ll burst into full, velvety petals on your tabletop by Valentine’s Day—like indoor magic. 🌷 The secret lies in mimicking winter’s chilling period while controlling light and moisture, so you’re not left with leggy stems or disappointed buds that refuse to open.
Start with bare-root bulbs or potted tulips in late fall, then store them in a cool, dark place (like a garage) for 10-12 weeks before bringing them indoors.
You’ll notice the first signs of life—tiny green shoots or swollen buds—about 2-3 weeks before blooming, signaling it’s time to adjust watering and light. Keep soil lightly moist but never soggy, and place them in a sunny window (or under grow lights) to prevent weak stems.
By the time those buds start plumping up (usually 7-10 days before opening), you’ll know you’re on track. The real trick is patience—overwatering now can cause buds to split, while too little light makes stems stretch awkwardly.
A bright, cool spot (around 60°F) keeps everything in balance, and you’ll reward yourself with full, fragrant blooms just in time for your favorite season.
Once the flowers fade, don’t cut the foliage—let it yellow naturally to feed next year’s blooms. If you’re forcing bulbs for repeat performances, replant them outdoors after blooming, and they’ll naturalize like wildflowers. The key is treating them like the delicate winter survivors they are, not just pretty decorations.
📚 In This Guide
- What you need
- Instructions
- Tips and common mistakes
- Wrapping up and next steps
What you need
- ● Tulip bulbs: 5–10 healthy, firm Dutch Master or Parrot tulip bulbs (larger bulbs = faster blooms!)
- ● Well-draining potting mix: 1–2 bags of cactus/succulent mix or peat-based soil (avoid garden soil—it’s too dense!)
- ● Pot or container: 1–2 shallow, wide containers (6–8 inches deep) with drainage holes, or
- ● A decorative vase or glass jar (for water-forcing method)
- ● Pebbles or gravel: 1 cup (for drainage layer in pots)
- ● Water: Room-temperature, filtered water (chlorine-free for bulbs!)
- ● Spray bottle: For gentle misting (keeps bulbs hydrated without overwatering)
- ● Trowel or spoon: For planting bulbs without damaging them
- ● Newspaper or cardboard: To line pots (prevents soil from falling through drainage holes)
- ○ Fertilizer (optional): 1 tsp balanced bulb fertilizer (5-10-10) or
- ● A pinch of Epsom salt (for extra magnesium)
- ○ Decorative elements (optional): Moss or pebbles for a Zen garden look
- ● Twine or ribbon to tie stems together
- ○ Grow lights (optional): If your space lacks natural light, a full-spectrum LED bulb (12+ hours/day)
Step-by-step guide to forcing tulips indoors for early blooms
Here's how to coax vibrant tulips into bloom in just three weeks—no greenhouse needed.
🌱 Step 1: Select and Prepare the Tulip Bulbs
Choose firm, plump tulip bulbs—larger ones (6+ inches in circumference) produce the most dramatic blooms. I always pick varieties like 'Apeldoorn' or 'Darwin Hybrid' for their reliability and bold colors. Avoid any bulbs with soft spots or mold, as these won't survive the forcing process.
Remove any dried or damaged outer scales, but don't peel back the layers completely. This ensures the bulb retains moisture while allowing the roots to emerge. Soak the bulbs in lukewarm water for 12 hours to jumpstart root growth. You'll see tiny root hairs appear within a day—this is your first sign they're ready to sprout.
🪴 Step 2: Plant Bulbs in a Forcing Medium
Fill a shallow container—like a decorative pot or even a repurposed vase—with a moist, well-draining mix. I use a blend of 50% potting soil and 50% perlite or coarse sand to prevent rot. The container should have drainage holes, but if it doesn’t, add a layer of pebbles at the bottom to wick away excess water.
Plant the bulbs base-down, with their pointed ends facing upward. Space them 1 inch apart in the container, leaving the top third of each bulb exposed. This prevents them from rotting and allows light to reach the growing shoot. Gently firm the soil around the bulbs, but don’t compact it—you want the mix to stay loose for root development.
☀️ Step 3: Chill the Bulbs to Trigger Blooming
Place the container in a dark, cool spot where temperatures stay between 35-45°F for 10-14 days. A refrigerator works perfectly—just store the bulbs on a shelf (not near produce, which releases ethylene gas and can stunt growth). Check the soil weekly; it should stay lightly moist but never soggy.
After 7-10 days, you’ll notice tiny green shoots emerging from the bulbs. This is your cue that the chilling phase is working. If the soil dries out completely during this time, the shoots may wither. A spray bottle keeps moisture even without disturbing the bulbs.
💧 Step 4: Move to Light and Water for Growth
Once shoots reach 2-3 inches tall, transfer the container to a bright, indirect light spot. Avoid direct sunlight, which can scorch the delicate leaves. A north-facing window or a grow light 4-6 inches away provides ideal conditions. You’ll see the stems elongate rapidly—this is normal and signals the bulb is actively growing.
Water the bulbs from the bottom by placing the container in ½ inch of water for 10-15 minutes twice weekly. This prevents overwatering while ensuring the roots absorb moisture. Stop bottom-watering once the shoots reach 6 inches tall and switch to gentle top-watering to avoid disturbing the blooms.
⏰ Step 5: Encourage Blooming and Enjoy
When the first flower buds appear (usually 2-3 weeks after moving to light), increase watering slightly to keep the soil consistently moist. You’ll know you’re on track when the buds swell and the stems firm up. Avoid moving the container once buds form—tulips are sensitive to temperature shifts and may drop blooms if jostled.
With care, your tulips will burst into color in just 3 weeks. Enjoy their beauty indoors, then plant the bulbs outdoors after blooming for a stunning spring display. I always save a few bulbs each year—they’ll reward you with even more dramatic blooms next time.
Tips & tricks for perfect forced indoor tulips
A few simple strategies that'll help your tulips bloom beautifully indoors without the guesswork.
Bulb Selection Insight: For the most reliable results, focus on Darwin Hybrid varieties—they're bred specifically for forcing and consistently deliver bold, vibrant blooms. Avoid any bulbs with papery skins or soft spots, even if they're on sale. I've learned the hard way that compromised bulbs won't recover during the forcing process, no matter how carefully you follow the steps.
Chilling Zone Strategy: The 10-14 days at 35-45°F is non-negotiable for triggering blooming, but I've found that refrigerator crispers work even better than regular shelves. They maintain more consistent humidity and prevent the soil from drying out completely. Just avoid storing near fruits—they release ethylene gas that can stunt growth. A small fan on low setting near the container also helps prevent mold during this critical phase.
Light Transition Technique: When moving your shoots to light after the chilling period, do it gradually over 2-3 days rather than all at once. Place the container in indirect light for the first day, then slowly increase exposure. This prevents shock and helps the stems strengthen before facing full light. I've seen shoots collapse completely when moved too quickly to bright conditions.
Watering Precision: The ½ inch of water for 10-15 minutes bottom-watering method is brilliant for maintaining moisture without overwatering. For even more control, use a spray bottle with room-temperature water to mist the soil surface when shoots reach 6 inches. This prevents disturbing the delicate stems while keeping the roots hydrated. Just avoid wetting the leaves, which can lead to fungal issues.
Pro Tips for Tulips Before Bloom
- A few simple strategies that'll help your tulips bloom beautifully indoors without the guesswork.
- Bulb Selection Insight: For the most reliable results, focus on Darwin Hybrid varieties—they're bred specifically for forcing and consistently deliver bold, vibrant blooms.
- Chilling Zone Strategy: The 10-14 days at 35-45°F is non-negotiable for triggering blooming, but I've found that refrigerator crispers work even better than regular shelves.
Frequently asked questions
Got questions about forcing tulips to bloom indoors? You’re not alone! Here are some of the most common queries—and their practical answers—to help you master the process.
How do I know if my tulip bulbs are ready to force indoors?
Choose healthy, firm bulbs (no soft spots or mold) that were planted in fall or bought specifically for forcing. Look for small shoots (about 2–3 inches tall) or even dormant bulbs—just ensure they’ve had at least 12–16 weeks of cold stratification (like in a fridge) to mimic winter.
Can I force tulips from my garden instead of buying pre-chilled bulbs?
Yes, but with a catch! Dig up bulbs after their foliage yellows (late spring/early summer), let them dry, then store them in a cool, dark place (40–50°F) for 8–12 weeks before forcing. Fresh garden bulbs may bloom smaller or later than pre-chilled ones, though!
Why aren’t my tulips sprouting after 2 weeks in water?
Patience is key! Tulips need time to wake up—some take 3–4 weeks to show signs of life. Check your setup: bulbs should sit half-submerged in water (not fully covered), and the water should stay cool (60–65°F). If mold appears, refresh the water and trim any slimy parts.
What’s the best way to arrange forced tulips in a vase?
Use a clear vase (like a glass jar) to showcase the bulb’s roots—it’s a stunning conversation piece! Trim stems to 4–5 inches and arrange them loosely (not too crowded). Add lukewarm water + flower food to extend their vase life. Pro tip: Change the water every 2–3 days to keep blooms fresh!
Will forced tulips bloom again next year if replanted outdoors?
Unfortunately, no—forced tulips are spent energy reserves. Once they bloom indoors, their bulbs won’t regrow. For future blooms, save seeds (if your variety produces them) or plant new bulbs in fall. Think of it as a one-time floral showstopper!
Wrapping up and next steps
Watching tulips before bloom burst into vibrant color indoors is a rewarding experience—one that’s totally within your reach with patience and the right techniques! 🌱 By following these steps, you’ve unlocked the magic of forcing tulips, turning winter’s chill into a springtime spectacle.
Now that you’re equipped with the know-how, why not try it with a few more bulbs?
Ready to dive deeper? Experiment with different varieties or share your blooms with friends—your green thumb is about to shine even brighter! 🌸 Grab your bulbs and get started today!