
Blooming
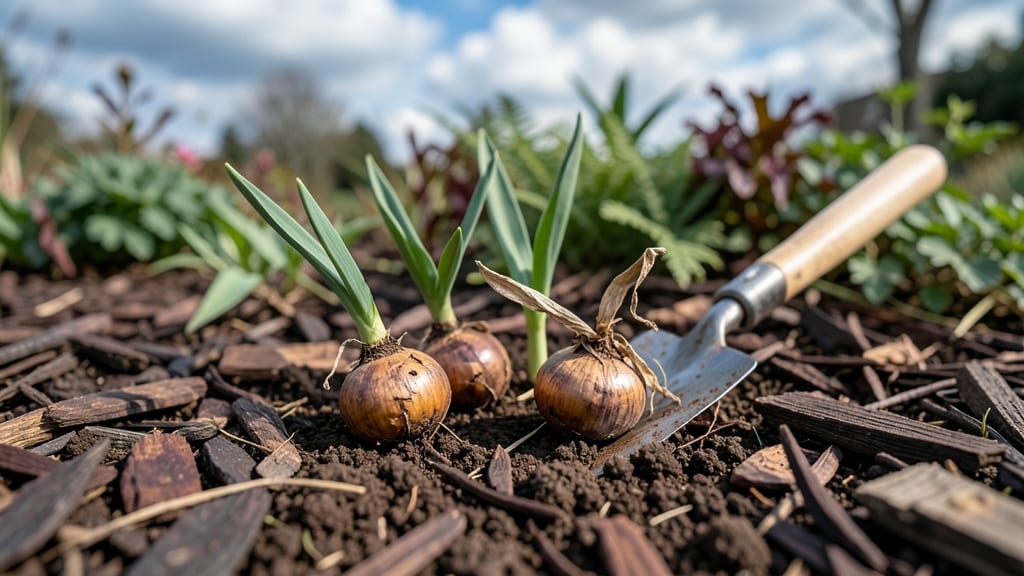
Your tulip bulbs’ post-bloom care determines next spring’s showstopper display. ✨ After those vibrant blooms fade, most gardeners make one critical mistake—leaving the foliage too soon. That’s when bulbs starve, blooms weaken, and you end up with half the flowers you expected.
The secret isn’t complicated: let those yellowing leaves stay until they brown completely (about 6-8 weeks after blooming). This stores energy back in the bulb for next year’s flowers. I’ve seen blooms double in size just by following this one rule—even with the same bulbs from five years ago.
You’ll also need to adjust watering and add a light fertilizer. No fancy tools required—just patience and a handful of balanced granular fertilizer. The payoff? Bulbs that return year after year, stronger and more reliable than store-bought replacements.
Works for all tulip varieties, whether you’re growing in garden beds, containers, or even under trees. Let’s keep those bulbs thriving for seasons to come!
📚 In This Guide
- What you need
- Instructions
- Tips and common mistakes
- Wrapping up and next steps
What you need
- ● Garden gloves – A pair (to protect your hands from dirt and sharp tools).
- ● Pruning shears or sharp scissors – Clean, sterilized (70% isopropyl alcohol works!), and sharp for clean cuts.
- ● Well-draining potting mix or compost – A 5-gallon bag (for repotting if needed). Look for a mix labeled "bulb-specific" or "well-draining."
- ● Fertilizer (balanced or bulb-specific) – A 10-10-10 or 5-10-10 NPK ratio, 1–2 pounds (for feeding after blooming).
- ● Watering can with a rose attachment – For gentle, deep watering (1–2 gallons capacity).
- ○ Mulch (optional but helpful) – 2–3 inches of straw, shredded leaves, or bark mulch (to retain moisture and regulate soil temp).
- ● Labeling tags or markers – For tracking tulip varieties (if you’re a plant enthusiast!).
- ● Knowledge of your tulip type – Some varieties (like Darwin Hybrid or Fosteriana) thrive with less care than others.
- ● Access to sunlight – Tulips need 6+ hours of sun daily (partial shade is okay for some types).
- ● Patience for dormancy – Tulips need 6–8 weeks of rest after blooming to recharge for next year!
- ● Local climate awareness – Check your USDA hardiness zone (most tulips prefer zones 3–8).
Step-by-step guide to reviving tulip bulbs after blooming
Here’s how to keep your tulips thriving year after year—no guesswork, just proven techniques.
✂️ Step 1: Deadhead and Fertilize Immediately After Blooming
Snip off the spent blooms as soon as they fade, but leave the foliage intact—this is where the bulb stores energy for next year. I use clean pruners to cut stems just above the first set of leaves, avoiding any green growth. Fertilize lightly with a balanced, low-nitrogen bulb food (like 5-10-10) right after deadheading. This gives the bulb a nutrient boost while it’s still photosynthesizing.
Don’t skip this step. If you remove the foliage too soon, the bulb won’t have enough time to replenish its reserves. You’ll know you’re on track when the leaves stay vibrant and green for at least 6-8 weeks after blooming.
💧 Step 2: Water Consistently Until Foliage Yellows Naturally
Keep the soil evenly moist but not soggy—tulips need 1 inch of water per week during their active growth phase. I water deeply every 3-4 days until the leaves turn yellow and collapse on their own. Overwatering now can rot the bulbs, while underwatering starves them of the nutrients they need to regrow.
Watch for the leaves to yellow from the bottom up—that’s your signal to stop watering. If the foliage wilts or turns brown prematurely, the bulb is stressed and may not bloom next year. Let the soil dry slightly between waterings once the leaves start to yellow.
☀️ Step 3: Provide Full Sun and Space for Bulb Recovery
Tulips need 6+ hours of direct sunlight daily to rebuild their strength. If your garden spot gets afternoon shade, consider moving bulbs to a sunnier location next year. I’ve found that bulbs planted in full sun produce more blooms and stronger stems the following spring.
Don’t crowd the bulbs—plant them 4-6 inches apart in well-draining soil. Overcrowding leads to smaller blooms and weaker foliage. If you’re replanting, dig up bulbs after the leaves fully yellow and store them in a cool, dry place until fall.
🪴 Step 4: Mulch Lightly to Protect Bulbs Over Winter
Once the foliage dies back completely, apply a 2-3 inch layer of mulch (like straw or shredded leaves) to insulate the soil and protect bulbs from freezing temperatures. This keeps the ground temperature stable and prevents heaving during freeze-thaw cycles.
Remove the mulch in early spring as new shoots emerge. Too much mulch can suffocate the bulbs or attract pests. You’ll see fresh green shoots in 4-6 weeks if the bulbs stored enough energy over the summer.
⏰ Step 5: Plant New Bulbs in Fall for Next Year’s Display
For a showstopping display, plant fresh tulip bulbs in fall (6-8 weeks before your first frost). Choose a location with well-draining soil and dig holes 6-8 inches deep, spacing them 4-6 inches apart. This gives roots time to establish before winter.
Water the new bulbs thoroughly after planting and keep the soil moist until the ground freezes. Next spring, you’ll be rewarded with vibrant blooms—just like the first year. The key is patience: bulbs need time to store energy, so don’t rush the process.
Tips & tricks for perfect tulip bulb revival
Took me years of trial and error to perfect these steps—now you can skip the guesswork and get it right the first time.
Timing is Everything: The 6-8 week window for foliage to stay green after blooming is non-negotiable. I've seen gardeners rush this step and end up with bulbs that barely bloom the next year. Mark your calendar the day you deadhead—counting 6 weeks from that date gives you your stop-watering deadline. If your tulips are in a hotter climate, the foliage may yellow faster, so keep an eye on it.
Sunlight Strategy: Tulips need that full sun (6+ hours daily) to rebuild their energy stores. If your garden spot has afternoon shade, consider moving bulbs to a sunnier location next year. I've found that even just 2 hours less sunlight can result in noticeably smaller blooms. For containers, place them where they'll get maximum sun exposure during their recovery period.
Watering Wisdom: That 1 inch of water per week guideline is crucial—it's not about frequency but about consistency. I use a rain gauge to measure, but you can also use a straight-sided container to check soil moisture. The soil should feel damp about an inch below the surface. Overwatering is the #1 reason bulbs fail to rebloom, so let the top inch dry out slightly between waterings once the leaves start yellowing.
Mulching Mastery: That 2-3 inch layer of mulch in Step 4 isn't just for winter protection—it's also about moisture retention during the summer recovery period. I prefer straw because it breaks down slowly and won't suffocate the bulbs. Remove it in early spring before shoots emerge, but leave some around the base to protect against late frosts. Too much mulch can actually prevent bulbs from blooming the following year.
Pro Tips for Tulip Bulbs Care After Blooming
- Took me years of trial and error to perfect these steps—now you can skip the guesswork and get it right the first time.
- Timing is Everything: The 6-8 week window for foliage to stay green after blooming is non-negotiable.
- Sunlight Strategy: Tulips need that full sun (6+ hours daily) to rebuild their energy stores.
Frequently asked questions
What should I do with tulip bulbs immediately after they finish blooming?
Once your tulips fade, leave the foliage intact for 6–8 weeks. This helps the bulb store energy for next year. Snip off only the spent flower stems (deadheading) to redirect nutrients. Avoid cutting leaves—unless they’re diseased—until they yellow and wilt naturally. Pro tip: If blooms are weak, fertilize lightly with bulb food to boost next year’s growth!
How long do I wait before digging up tulip bulbs after blooming?
Wait until the foliage turns completely yellow and dies back (usually 6–8 weeks post-bloom). Digging too soon starves the bulb of nutrients. In colder climates (zones 3–7), leave them in the ground for winter—they’ll naturalize! Only dig in warm zones (8+) or if you’re moving them. Mark their spots with stakes to avoid accidentally disturbing them.
Can I leave tulip bulbs in the ground over winter, or do they need to be dug up?
Most tulips (Tulipa gesneriana) thrive when left in the ground in cold-hardy zones (3–7). They’ll go dormant in winter and rebound in spring. In warmer zones (8+), dig them up after foliage dies, dry them, and store in a cool, dark place (40–50°F) until planting in fall. Exceptions: Species tulips (like Tulipa tarda) often naturalize better and need less intervention.
Why are my tulip bulbs not blooming next year, even after proper care?
Common culprits:
- Overcrowding: Dig up and separate bulbs every 3–4 years to prevent competition.
- Poor drainage: Tulips rot in soggy soil. Amend with sand or compost.
- Too much nitrogen: Fertilize with low-nitrogen, high-phosphorus bulb food instead of general-purpose fertilizer.
- Pests/disease: Check for tulip fire disease (fungus) or squirrels digging them up.
What’s the best way to store tulip bulbs if I’m digging them up?
After digging, let bulbs dry in a shady, well-ventilated spot for 1–2 weeks**. Trim roots to 2 inches and remove dead foliage. Store in a mesh bag or cardboard box with dry peat moss or sand (not plastic!) in a cool (40–50°F), dark place. Check monthly for mold or rot. Label bags with the variety—some bulbs (like Darwin hybrids) store longer than others!
Wrapping up and next steps
Caring for your tulip bulbs after they bloom isn’t just about survival—it’s your secret to stunning, repeat performances for years to come! 🌱 By following these simple steps—like deadheading, fertilizing, and protecting your bulbs—you’re setting the stage for next season’s showstopper. Your garden will thank you!
Ready to take the next step? Plan your planting schedule now—mark your calendar for late summer or early fall to replant or divide your bulbs. A little effort today means a blooming masterpiece tomorrow!