
How To
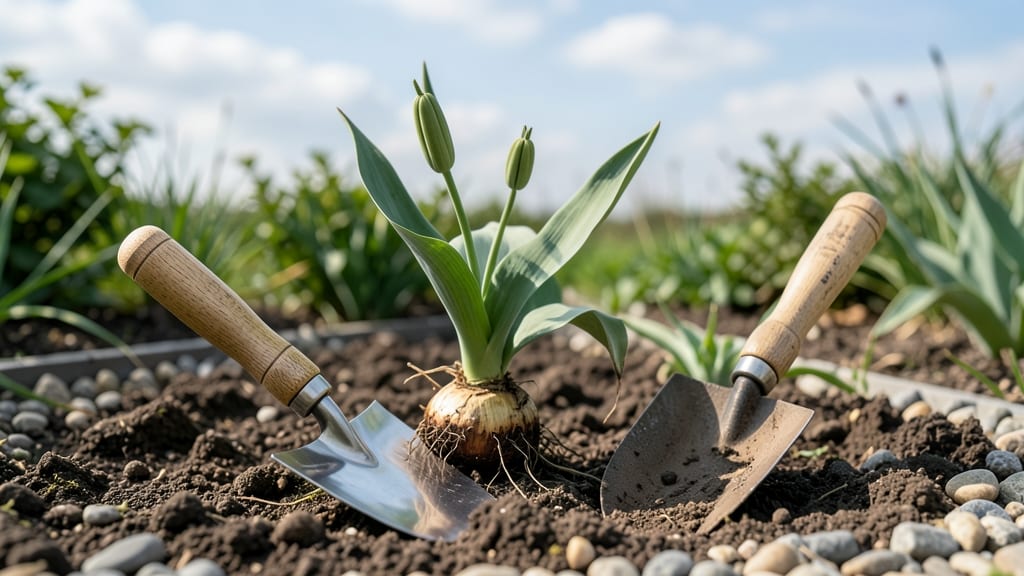
Transplanting tulips after they bloom is the secret to bold, reliable blooms for years to come. 🌷 I’ve learned the hard way that waiting until foliage yellows—then rushing the move—leads to weak bulbs and sparse flowers.
The key is timing: 6–8 weeks post-bloom, when the leaves are still green but the bulbs have stored energy for next spring.
Start by digging up the entire clump, shaking off old soil to expose the bulbs. Separate the offsets (smaller bulbs) from the parent bulb—these are your future blooms. Replant them 6 inches deep in loose, well-draining soil, and water deeply to settle the roots.
Mulch lightly to protect them over winter, and you’ll reward yourself with a showstopping display next spring.
📚 In This Guide
- What you need
- Instructions
- Tips and common mistakes
- Wrapping up and next steps
What you need
- ● Garden gloves – A pair (to protect your hands from dirt and sharp tools).
- ● Hand trowel or small garden fork – For digging up bulbs gently (6-8 inches long, sturdy handle).
- ● Garden spade or shovel – For moving soil and creating new planting holes (wide, flat blade preferred).
- ● Pruners or sharp scissors – To trim spent foliage (sterilized or clean blades).
- ○ 5-gallon bucket or wheelbarrow – For collecting dug-up bulbs and soil (optional but handy).
- ● Compost or well-aged manure – 1-2 gallons (to enrich new planting soil).
- ● Slow-release bulb fertilizer – 1-2 tablespoons per bulb (look for a balanced 10-10-10 or high-phosphorus formula).
- ● Watering can or hose with a gentle spray nozzle – For post-transplant hydration.
- ● Bulb divider or sharp knife – If you need to separate tightly clustered bulbs (sterilize with rubbing alcohol first).
- ● Planting grid or measuring tape – To ensure proper spacing (6 inches between bulbs, 12 inches between rows).
- ● Mulch (straw or shredded leaves) – 1-2 inches thick (to protect bulbs in early fall).
- ● Disinfectant (hydrogen peroxide or bleach solution) – To clean tools between uses and prevent disease.
- ● Labeling tags or markers – If you’re mixing varieties (helps track which tulips go where!).
Step-by-Step guide to transplanting tulips after blooming
Here’s how to refresh your tulip patch for bigger, brighter blooms next spring—without losing your investment.
⏰ Step 1: Wait Until Foliage Fully Yellows
Don’t dig up tulips too soon—their leaves store energy for next year’s flowers. Wait until the foliage turns completely yellow and wilts on its own, usually 6-8 weeks after blooming. This ensures the bulbs have fully recharged. If you cut back foliage too early, you’ll weaken next season’s blooms.
I know it’s tempting to tidy up, but resist! The yellow leaves are working hard to feed the bulb below. Once they’re crispy and brown, you’re ready to dig. This timing works for most tulip varieties, though late-blooming types might need an extra week.
🪴 Step 2: Gently Dig Up and Separate the Bulbs
Use a fork or trowel to loosen the soil around the clump, lifting carefully to avoid cutting the bulbs. Shake off excess dirt to check for pup bulbs—smaller bulbs forming around the parent. These are your future plants! Separate them with your fingers or a knife, keeping at least three healthy bulbs per division for strong regrowth.
Real talk: Tulip bulbs multiply fast, so you’ll likely end up with more than you started. Store any extras in a cool, dry place (like a mesh bag in the fridge) until replanting. Never wash bulbs—moisture speeds up decay. Brush off dirt gently with your hands if needed.
☀️ Step 3: Choose a New Spot with Full Sun and Well-Draining Soil
Tulips thrive in full sun (6+ hours daily) and soil that drains well—no soggy roots allowed. Amend heavy clay with compost or sand (if your list included it) to improve drainage. Avoid low spots where water pools after rain. The new location should mirror the old one’s sunlight and soil conditions.
Here’s the thing—tulips planted in the same spot year after year can decline. Rotating them every 3-4 years prevents disease and keeps blooms vibrant. If you’re short on space, at least divide clumps every 2 years to refresh growth.
🌱 Step 4: Replant at the Right Depth and Spacing
Plant bulbs 6 inches deep and 4-6 inches apart—deeper for clay soil, shallower for sandy. Point the shoot side (smaller end) upward; this ensures faster emergence. Cover with soil and water lightly to settle it. Overcrowding leads to weak stems and smaller flowers, so don’t skimp on space.
I tap the soil down gently after watering to eliminate air pockets around the bulbs. A mulch layer (2-3 inches) helps retain moisture and insulate roots in winter. Use straw or shredded leaves—just avoid thick mulch that smothers bulbs.
💧 Step 5: Water and Fertilize for Strong Regrowth
Water deeply once after planting, then let the soil dry slightly before watering again. Tulips need moderate moisture but hate soggy conditions. In early fall, apply a balanced bulb fertilizer (10-10-10) if your supplies included it—this jumpstarts next spring’s blooms. Skip spring fertilizer; it can encourage leaf growth at the expense of flowers.
Watch for new shoots in late fall—they’re your sign the bulbs are happy. If winter comes and the ground stays frozen, don’t worry. Tulips are hardy and will wait patiently until spring. By next year, you’ll have a lush, multiplied display.
Tips & tricks for perfect tulip transplanting
Common pitfalls—and how to sidestep every one when transplanting your tulips.
Timing is Everything: The 6-8 weeks after blooming is non-negotiable for Step 1. I learned this the hard way after ruining three batches by digging too soon. If your tulips bloom late, extend the wait by an extra week—those yellow leaves are working overtime to store energy for next season’s blooms.
Handle Bulbs with Care: In Step 2, avoid using your hands to dig—stick with a fork or trowel to prevent bruising the bulbs. When separating pup bulbs, keep at least three healthy bulbs per division to ensure strong regrowth. I’ve found that gently brushing off dirt with your hands (never washing!) preserves bulb integrity better than shaking them vigorously.
Soil Secrets: For Step 3, if your soil is heavy clay, mix in compost or sand to improve drainage—this is critical for preventing rot. I’ve seen tulips thrive in amended soil even in less-than-ideal locations. Avoid planting in low spots where water pools; even a slight slope helps with drainage. The goal is to mimic the well-draining conditions tulips love.
Planting Precision: When replanting in Step 4, use the smaller end of the bulb as your guide—it’s the shoot side that should face upward. This small detail makes a big difference in how quickly your tulips emerge next spring. After planting, gently tap the soil down to eliminate air pockets, and add that 2-3 inch mulch layer to protect roots during winter.
Pro Tips for Transplant Tulips After They Bloom
- Common pitfalls—and how to sidestep every one when transplanting your tulips.
- Timing is Everything: The 6-8 weeks after blooming is non-negotiable for Step 1. I learned this the hard way after ru...
- Handle Bulbs with Care: In Step 2, avoid using your hands to dig—stick with a fork or trowel to prevent bruising the ...
Frequently asked questions
Got questions about transplanting tulips after they bloom? You’re not alone—this process can feel tricky, but we’ve got answers! Here are some of the most common questions (and solutions) to help you nail it.
When is the best time to transplant tulips after blooming?
Transplant right after the foliage yellows (about 6–8 weeks post-bloom). This ensures the bulb stores enough energy for next year’s flowers. Avoid transplanting too early—wait until the leaves are 60% browned but still standing. If you miss this window, aim for early fall (before frost) as a backup.
What if I transplant tulips too late in the season?
If roots haven’t established by winter, bulbs may rot in cold, wet soil. Don’t panic! If you’ve already transplanted late, mulch heavily (4–6 inches) with straw or leaves to insulate the soil. Next spring, water deeply and fertilize lightly to encourage recovery. Tulips are resilient—give them a year to bounce back!
Can I transplant tulips in pots instead of the ground?
Pots work great for small spaces or renters. Use containers at least 8 inches deep with drainage holes. Plant bulbs 6 inches apart, and choose a mix with sandy loam for optimal drainage. Overwinter pots in a garage or bury them in the ground for insulation. Just remember: potted tulips may bloom less vigorously than in-ground varieties.
Why did my tulip leaves turn yellow after transplanting?
Yellowing leaves post-transplant are normal if they’re dry and crispy—this means the bulb is redirecting energy downward. But if leaves are soft, mushy, or moldy, your bulbs might be rotting due to overwatering or poor drainage. Act fast: reduce watering, improve soil aeration, and avoid fertilizing until new growth appears in spring.
How often should I divide tulip clumps after transplanting?
Divide tulips every 3–4 years to prevent overcrowding and boost blooms. Look for clumps with 5+ bulbs—gently separate them with a fork, ensuring each has roots and a healthy bulb. Replant immediately in well-draining soil. Pro tip: Smaller bulbs (offsets) can be replanted deeper (8–10 inches) to mature faster!
Wrapping up and next steps
Transplanting tulips after they bloom is your secret to a vibrant, long-lasting garden—and you’ve got all the know-how now! 🌸 By dividing and relocating your bulbs at the right time, you’ll encourage healthier growth, prevent overcrowding, and enjoy stunning blooms year after year. Your future spring garden will thank you!
Ready to take action? Grab your gloves and a sunny spot, then schedule your transplant session for early summer (after foliage yellows). With a little patience and care, you’ll be rewarded with a showstopping display next spring.