
Fertilization
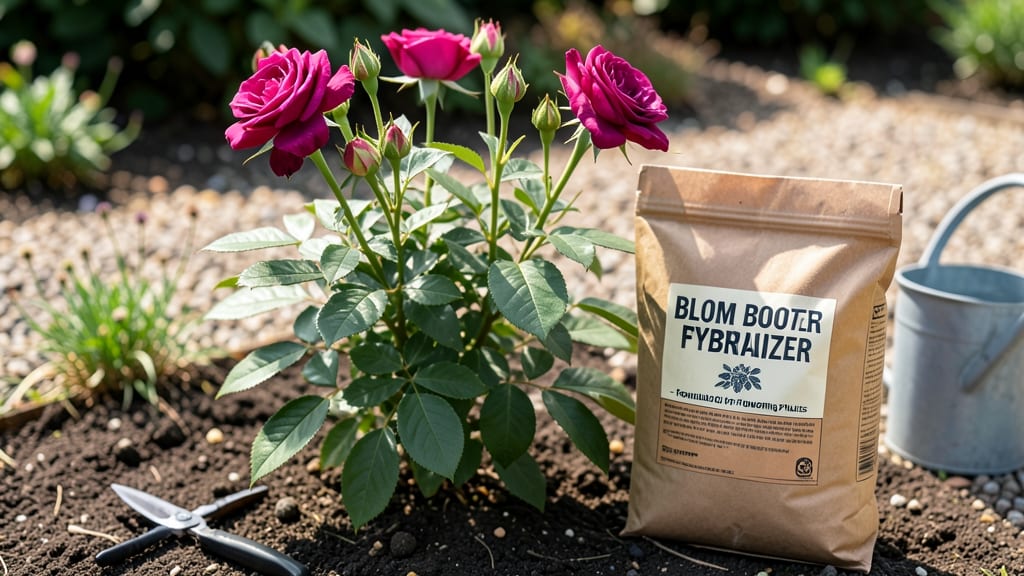
My bloom fertilizer revelation came after three summers of wilting petunias and sad dahlias—until I switched to a formula designed for flowers, not just foliage. 🌸 The difference? Flowers that keep blooming instead of putting all their energy into leaves.
This isn't your basic all-purpose fertilizer; it's a targeted boost for vibrant petals, longer seasons, and fewer deadheaded disappointments.
Here's the secret: bloom fertilizers pack higher phosphorus (the middle number on the NPK label) to encourage flowering, plus micronutrients that keep petals rich in color. You'll see the results in 4-6 weeks—thicker stems, bigger blooms, and flowers that last longer without constant deadheading.
The best part? It works for everything from annuals to perennials, even heavy feeders like roses and hydrangeas.
Start with a half-strength application every 4-6 weeks during the growing season, then taper off in fall. Pair it with a slow-release fertilizer in spring to avoid nutrient spikes, and always water it in to protect roots. Overuse leads to lush leaves and zero flowers—trust me, I've made that mistake.
Works for containers, in-ground beds, and even houseplants that flower (like African violets). The key is consistency—not overdoing it. Here's how to make it work without burning your plants or your wallet.
📚 In This Guide
- What you need
- Instructions
- Tips and common mistakes
- Wrapping up and next steps
What you need
- ● Bloom-Specific Fertilizer: 1–2 lbs of a balanced, bloom-boosting fertilizer (e.g., 10-10-10 or 5-10-5 NPK ratio). Look for labels highlighting phosphorus (P) and potassium (K) for flower production.
- ● Organic option: Composted manure (e.g., cow or bat), fish emulsion, or bone meal (1–2 cups per plant).
- ● Slow-Release Granules: ½–1 lb of osmocote or similar timed-release fertilizer for steady nourishment.
- ● Watering Can or Hose: With a fine mist nozzle for even distribution.
- ● Garden Gloves (to protect hands from fertilizer residue).
- ● Hand Trowel or Rake (for mixing fertilizer into soil).
- ● Measuring Spoon or Scale (to ensure precise fertilizer amounts).
- ○ pH Test Kit (Optional) – Ensures soil pH is ideal (most flowers thrive in 6.0–7.0).
- ○ Mulch (Optional) – 2–3 inches of organic mulch (e.g., straw or shredded bark) to retain moisture and nutrients.
- ● Healthy Soil: Loose, well-draining soil amended with compost (if not already nutrient-rich).
- ● Water Access: Consistent watering schedule (fertilizer works best when soil is moist but not soggy).
- ● Plant Readiness: Avoid fertilizing newly planted or stressed flowers (wait 4–6 weeks post-planting).
How to use bloom fertilizer for flowers: a season-long strategy
Here’s how I keep my flowers blooming nonstop—no deadheading marathon required.
🌿 Step 1: Choose the Right Bloom Fertilizer Formula
Look for a fertilizer with a balanced NPK ratio (like 10-10-10 or 12-12-12) specifically labeled for blooming plants. The third number—potassium—is key for flower production, but too much nitrogen (first number) will send energy to leaves instead of blooms. I avoid slow-release formulas for annuals because they don’t adjust to seasonal needs.
For perennials, a time-release bloom booster (like 14-14-14) works well when applied in early spring. Test your soil first—if it’s already high in phosphorus (the middle number), skip the extra phosphorus and go for a lower-P formula (like 10-5-20) to prevent over-fertilizing. You’ll see the difference in stronger stems and more vibrant blooms.
⏰ Step 2: Apply Fertilizer at Critical Growth Stages
Start with a light application (half the recommended dose) when you see new growth in early spring. This jumpstarts flowering without shocking the plants. For annuals, feed every 4-6 weeks during active growth—stop fertilizing 6-8 weeks before first frost to let plants harden off naturally.
Perennials need a different rhythm: apply one-third of the recommended dose in early spring, another third when buds form, and the final third after the first flush of blooms. Over-fertilizing late in the season leads to weak stems that can’t support flowers. Watch for dark green leaves with no buds—that’s your sign to cut back.
💧 Step 3: Water Deeply Before and After Feeding
Always water the soil thoroughly the day before applying fertilizer. This prevents salt buildup from burning roots, especially in sandy or fast-draining soils. Use a slow, deep watering (about 1 inch of water) to ensure the fertilizer reaches the root zone where it’s needed most.
After applying, water again to leach excess salts from the root zone. You’ll know you’ve done it right when the soil looks evenly moist 2 inches down—not just damp at the surface. Mulch lightly (¼ inch) after watering to lock in moisture and prevent crusting, which blocks nutrient uptake.
☀️ Step 4: Adjust Care Based on Bloom Response
If flowers appear small and sparse, you’re likely under-fertilizing. Increase the dose slightly (by 20%) and apply more frequently (every 3 weeks instead of 4). For leggy growth with few blooms, cut back on nitrogen-heavy fertilizers and switch to a higher-potassium formula to encourage flowering.
Yellowing leaves? That’s often a sign of over-fertilizing or poor drainage. Flush the soil with 2-3 inches of water to leach out excess salts, then reduce fertilizer applications by half until new growth appears. Healthy flowers should have deep green leaves with vibrant, abundant blooms—not just one or two showy flowers on weak stems.
✂️ Step 5: Maintain Year-Round with Seasonal Tweaks
In summer, when heat stresses plants, switch to a liquid bloom fertilizer applied every 2 weeks. The frequent, diluted feedings prevent salt buildup while keeping nutrients available. For fall, reduce applications to every 6 weeks—plants need less energy as daylight shortens.
Winter care depends on your climate. In mild winters, a light application (10% of the recommended dose) in late winter prevents nutrient depletion. In cold zones, skip fertilizing entirely until spring growth resumes. You’ll know it’s time when you see new shoots breaking through the soil—then it’s safe to feed again.
Tips & tricks for perfect bloom fertilizer application
Took me a while to figure these out, so here's how I make bloom fertilizer work flawlessly for my garden year-round.
Formula Selection: When choosing your NPK ratio, prioritize the third number (potassium) for flower production, but don't ignore the balance. I've found that 10-10-10 works wonders for most blooming plants, but for roses specifically, I switch to a 5-10-25 formula during budding season. The key is matching the formula to your plant's current growth stage rather than using a one-size-fits-all approach.
Application Timing: The 4-6 week feeding schedule for annuals might seem frequent, but it's crucial during peak growing months. I set calendar reminders for my annuals and use a garden journal to track when I last fertilized perennials. For perennials, that first one-third dose in early spring is non-negotiable—it jumpstarts their metabolic processes after winter dormancy. Watching for those first signs of new growth (like unfurling leaves or bud swelling) is your cue to apply.
Watering Wisdom: That 1-inch deep watering before and after fertilizing makes all the difference. I use a rain gauge to measure precisely, and for container plants, I water until it drains from the bottom. The goal is to move nutrients down to the root zone where they're needed, not let them sit on the surface where they can burn tender roots. For sandy soils, I'll even double that watering amount to ensure proper leaching.
Seasonal Adjustments: The summer switch to liquid fertilizer every 2 weeks is my secret weapon for heat-stressed plants. I dilute it to half strength to prevent salt buildup, which is especially important in containers where roots have less volume to absorb nutrients. In fall, I mark my calendar 6 weeks before first frost to taper off fertilizing—this gives plants time to harden off naturally without putting energy into new growth they won't complete before winter.
Pro Tips for Bloom Fertilizer For Flowers
- Took me a while to figure these out, so here's how I make bloom fertilizer work flawlessly for my garden year-round.
- Formula Selection: When choosing your NPK ratio, prioritize the third number (potassium) for flower production, but don't ignore the balance.
- Application Timing: The 4-6 week feeding schedule for annuals might seem frequent, but it's crucial during peak growing months.
Frequently asked questions
Got questions about keeping your flowers blooming beautifully? We’ve got answers! Here are some of the most common queries about bloom fertilizer for flowers—read on to troubleshoot, optimize, and enjoy year-round color.
How often should I apply bloom fertilizer to my flowers?
For most flowering plants, apply bloom fertilizer every 4–6 weeks during the growing season (spring to fall). In winter, reduce frequency to once every 8–12 weeks or follow the product’s specific instructions. Over-fertilizing can harm roots, so consistency is key—think of it like a steady dose of sunshine, not a sudden burst!
Can I use bloom fertilizer on new or recently transplanted flowers?
Wait 4–6 weeks after transplanting before applying bloom fertilizer. New plants are still establishing roots, and fertilizer can stress them. Instead, focus on watering deeply and using a mild starter fertilizer (like one with low phosphorus) to encourage root growth. Patience pays off—your flowers will thank you with vibrant blooms!
What’s the difference between bloom fertilizer and regular plant food?
Bloom fertilizer is specifically formulated to boost flowering, with a higher phosphorus (P) content (e.g., ratios like 10-20-10). Regular plant food often balances growth (nitrogen) and root development (potassium). If your flowers look lush but aren’t blooming, switch to a bloom-specific formula for that extra floral punch!
Why are my flowers wilting or turning yellow after using bloom fertilizer?
Yellowing leaves or wilting can signal over-fertilization or root burn. Flush the soil with water to dilute excess salts, and hold off on fertilizer for 2–4 weeks. If the issue persists, check your plant’s water needs—overwatering combined with fertilizer can drown roots. Pro tip: Always water thoroughly before applying fertilizer to help distribute nutrients evenly.
Are liquid bloom fertilizers better than slow-release granules?
It depends on your plants’ needs! Liquid fertilizers act faster and are great for quick blooming boosts (like roses or annuals). Slow-release granules provide steady nutrition and are ideal for perennials or low-maintenance gardens. For convenience, try a combo approach: Use granules at planting time and liquids mid-season for a balanced, long-lasting effect.
Wrapping up and next steps
Choosing the right bloom fertilizer for flowers is your secret weapon for a garden that bursts with color—year after year! 🌸 Whether you’re tackling annuals, perennials, or even finicky tropicals, the key lies in feeding your plants the right nutrients at the right time.
With a little consistency and the right blend (like a balanced NPK ratio or organic options), you’ll skip the deadheading drama and enjoy effortless, lush blooms.
Ready to transform your garden? Start small: pick one plant or section, test a fertilizer, and watch the magic happen. Before you know it, your space will be the envy of the neighborhood! 🌿