
Blooming
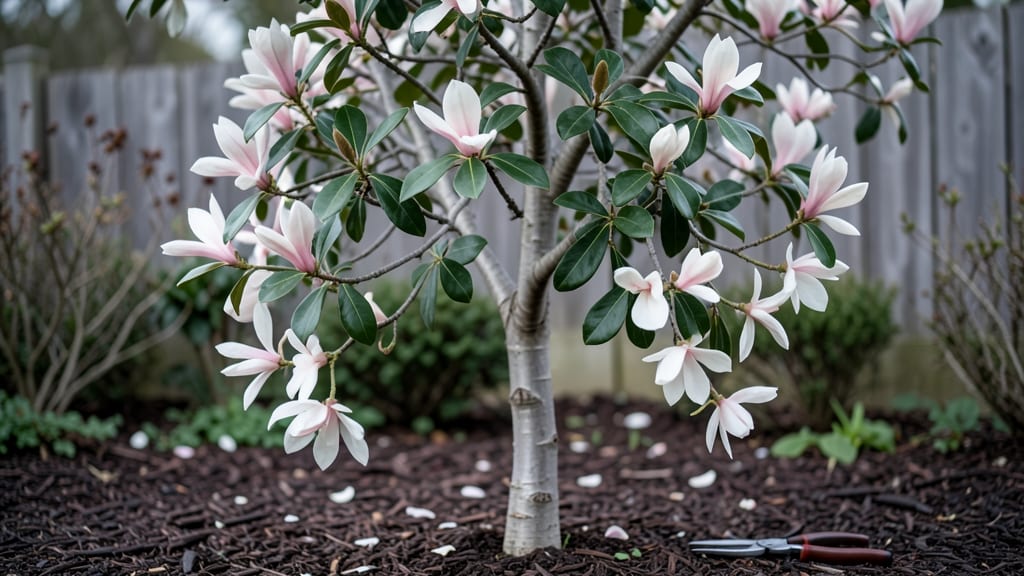
Spring is in bloom when these perennials pop up on their own, year after year. ✨ There’s nothing like watching your garden come alive with vibrant color and life, all without extra effort from you.
These self-sowing stars—like poppies, cosmos, and sweet alyssum—do the work for you, turning patches of soil into a burst of color that feels like magic. The secret lies in their resilience and timing.
Plant them in early spring or late summer, give them full sun and well-draining soil, and they’ll reward you with cheerful blooms that spread effortlessly. No fuss, no fussing—just pure, natural beauty that keeps coming back, stronger each season.
Imagine walking outside to find your garden already dressed in soft pinks, sunny yellows, and deep purples, all without lifting a finger. These perennials thrive in most climates, making them the perfect choice for gardeners who want low-maintenance, high-impact results.
Let’s dive into the easiest ways to encourage these blooms to return every year, so your spring garden stays as lively as the season itself.
📚 In This Guide
- What you need
- Instructions
- Tips and common mistakes
- Wrapping up and next steps
What you need
- ● Self-sowing perennial seeds: Choose 3–5 varieties (e.g., Calendula officinalis, Nepeta (catmint), Lupinus (lupine), Cosmos bipinnatus, or Dianthus). Aim for 20–50 seeds per type (packets usually include 50–100).
- ● Well-draining potting mix: 1–2 cubic feet (sterilized, organic blend with perlite or vermiculite for aeration).
- ● Seed-starting trays or biodegradable pots: 50–100 cell trays (2–3 inches deep) or 3–4 inch pots (if transplanting later).
- ● Lightweight potting soil: 1 bag (1–2 cubic feet) for transplanting.
- ● Garden bed or containers: 6–12 inches deep, with full sun to partial shade (6+ hours of sunlight for most perennials).
- ● Watering can or hose with a gentle spray nozzle.
- ● Garden labels: 50+ labels (or a permanent marker for pots).
- ● Hand trowel (for transplanting seedlings).
- ● Garden gloves (to protect your hands from soil and thorns).
- ● Pruners or scissors (for deadheading spent blooms to encourage reseeding).
- ○ Optional: Seedling heat mat (if starting indoors in cool climates).
- ○ Optional: Row cover or shade cloth (to protect young seedlings from pests or harsh sun).
- ● Timing: Start seeds 6–8 weeks before your last frost date (check your USDA zone!).
- ● Location: Choose a spot with good air circulation to prevent fungal diseases.
- ● 💡 Pro Tip: Mix a 50/50 blend of seed-starting mix and compost for nutrient-rich soil.
- ● 🌡️ Pro Tip: Keep soil consistently moist (not soggy)—use a spray bottle for delicate seedlings.
- ● ✨ Bonus: Let some flowers go to seed naturally—this encourages self-sowing for next year!
Step-by-step guide to encouraging self-sowing perennials in your garden
Watch your garden multiply effortlessly as these vibrant perennials spread on their own.
🌱 Step 1: Select the Right Self-Sowing Perennials
Start with proven self-sowers like black-eyed Susan, coreopsis, lupine, or columbine—these thrive in most climates. I always check seed packet labels for the phrase "self-seeds freely," as not all perennials behave this way. Plant them in full sun to partial shade, depending on the variety, and avoid overcrowding the first year so they establish strong roots.
Here's the thing—some perennials, like peony or hosta, rarely self-sow. If you're unsure, ask at your local nursery which varieties in your hardiness zone spread naturally. I've found that native wildflowers often self-sow more reliably than hybrid cultivars.
☀️ Step 2: Provide Ideal Growing Conditions
Self-sowing works best when perennials receive consistent moisture during their first growing season. Water deeply once a week until the plants show new growth and the soil feels 2-3 inches dry at the surface. Avoid overhead watering after flowering, as wet seed heads can rot before seeds mature.
Most self-sowers prefer well-draining soil with a pH between 6.0 and 7.0. If your soil is heavy clay, mix in 2-3 inches of compost before planting to improve drainage. I always test my soil first—you'd be surprised how many gardeners skip this step and struggle with poor germination.
✂️ Step 3: Let Seed Heads Mature Naturally
Resist the urge to deadhead spent blooms—leave seed heads intact until they turn brown and dry. This ensures seeds mature fully and develop the hard outer coating needed for survival. I mark plants I want to self-sow with color-coded plant ties so I don't accidentally trim them too early.
Once seeds are fully dry, they'll scatter naturally when touched by wind or rain. You'll see tiny seedlings popping up around the parent plant in 2-4 weeks, depending on your climate. If you want to encourage more spread, gently shake the seed heads over fresh soil in early fall.
🌿 Step 4: Thin and Transplant Volunteers
When seedlings reach 2-3 inches tall, thin them to 6-12 inches apart, depending on the mature plant size. Use small scissors to snip unwanted seedlings at soil level—this prevents disturbing roots of the ones you keep. I always save the thinned seedlings for free plants to share with neighbors or fill gaps elsewhere in the garden.
Transplant any extra seedlings to new locations while they're small. They establish faster when moved before developing deep roots. Water thoroughly after transplanting and keep the soil consistently moist for 2 weeks to help them recover.
⏰ Step 5: Mulch Lightly for Winter Protection
After the first frost, apply a 1-inch layer of mulch around established plants and new seedlings. This protects tender roots from temperature swings and prevents soil erosion. I use straw or shredded leaves because they break down slowly and improve soil structure over time.
In spring, the mulch will break down naturally, feeding your perennials as they emerge. You'll notice new seedlings appearing in the same spots year after year—proof that your garden is becoming self-sustaining. Just avoid heavy mulch piles, as they can smother small seedlings trying to push through.
Tips & tricks for perfect self-sowing perennial gardens
Transform your garden into a self-sustaining paradise with these insider secrets for encouraging natural propagation.
Selection Strategy: Focus on native wildflowers and proven self-sowers like black-eyed Susan or coreopsis for the most reliable results. These varieties have evolved to thrive in your specific climate and soil conditions. I always plant a mix of full sun and partial shade varieties to create a layered effect that supports natural spread. The key is diversity—different species will self-sow at different times, giving you continuous color throughout the season.
Moisture Management: Those once-a-week waterings during the first growing season are non-negotiable for establishing strong root systems. I use a soaker hose set to deliver water at the base of plants rather than overhead sprinkling, which prevents fungal diseases that can rot seed heads. The 2-3 inch dry soil test is your best guide—stick your finger in the soil to check moisture levels before watering again. This method ensures consistent moisture without overwatering.
Seed Head Preservation: Marking plants with color-coded plant ties has saved me from accidentally deadheading self-sowers more times than I can count. I use red ties for perennials I want to preserve seed heads and green ties for annuals that should be deadheaded. When seeds are fully dry and ready to scatter, I'll gently shake them over fresh soil in early fall to encourage more widespread germination. This simple technique can triple your natural propagation in just one season.
Thinning Technique: When thinning seedlings to 6-12 inches apart, use small scissors to snip at soil level rather than pulling. This prevents disturbing the roots of the plants you want to keep. I always save the thinned seedlings for free plants to share with neighbors or fill gaps elsewhere in the garden. These young plants establish faster when moved before developing deep roots, and you'll have a ready supply of free plants for future garden projects.
Pro Tips for Spring Is In Bloom
- Transform your garden into a self-sustaining paradise with these insider secrets for encouraging natural propagation.
- Selection Strategy: Focus on native wildflowers and proven self-sowers like black-eyed Susan or coreopsis for the most reliable results.
- Moisture Management: Those once-a-week waterings during the first growing season are non-negotiable for establishing strong root systems.
Frequently asked questions
Got questions about welcoming spring’s self-sowing perennials into your garden? You’re not alone! Here are answers to the most common curiosities—from timing to troubleshooting—so you can dive in with confidence.
When is the best time to plant self-sowing perennials?
For most perennials, late winter to early spring (just as "spring is in bloom" begins!) is ideal. Plant seeds or transplants after the last frost when soil is workable but not soggy. If you’re in a warmer climate, early fall can also work—just aim for 6-8 weeks before the first frost. Pro tip: Check your local frost dates for precision!
How long does it take for self-sowing perennials to bloom?
Blooming times vary! Fast growers like Calendula or Nasturtium may flower in 6-8 weeks, while slower beauties like Black-Eyed Susan or Coneflower take 90-120 days. Patience pays off—once established, many perennials reward you with years of effortless blooms. Deadhead spent flowers to encourage repeat blooming!
What if my self-sowing plants don’t come back?
Don’t worry! Missed blooms can stem from overcrowding, poor soil, or pests. Thin seedlings to 12-18 inches apart, amend soil with compost, and watch for aphids or slugs. If a perennial fails to return, it might not be hardy in your zone—try swapping it for a more resilient variety like Yarrow or Lavender.
Can I grow self-sowing perennials in containers?
Choose compact varieties like Sweet Alyssum or Dwarf Marigolds for pots. Use well-draining soil, a container with drainage holes, and place in full sun. Just remember: Containers dry out faster, so water consistently. Mix in slow-release fertilizer to keep them thriving!
How do I prevent weeds from overtaking my self-sowing garden?
Weeds love the same conditions as your perennials! Mulch with straw or wood chips to suppress weeds, and hand-pull them early before they compete for nutrients. Plant densely to crowd out invaders, and consider a light layer of living mulch like clover for natural weed control.
Wrapping up and next steps
As spring unfolds, embracing the magic of self-sowing perennials is like inviting nature’s own artistry into your garden—effortless, beautiful, and full of surprises! 🌸 These hardy plants don’t just survive; they thrive, rewarding you with vibrant blooms year after year with minimal effort.
Whether you’re a seasoned gardener or just starting, now’s the perfect time to let these resilient stars take center stage.
Ready to transform your outdoor space? Start small—pick one or two perennials from this list, gather your supplies, and dive in! Watch as your garden grows wild with color, all while doing the heavy lifting for you. Happy planting! 🌱✨