
Blooming
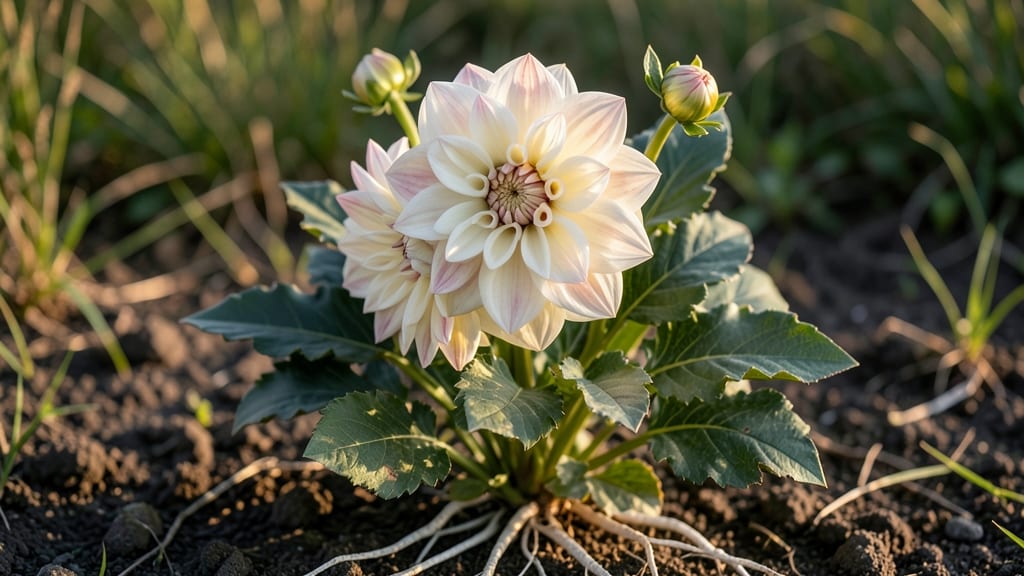
The deep roots and blooms of cold-hardy perennials make them the unsung heroes of a low-maintenance garden—and I’ve been obsessed with them since my first winter garden survived the freeze. 🌱 These plants don’t just tolerate tough conditions; they thrive, sending deep roots into the soil while putting on a show of vibrant blooms that keep coming back stronger each season.
The magic lies in pairing strong-rooted perennials like coneflowers, black-eyed Susans, and Russian sage with self-cleaning bloomers such as catmint, bee balm, and shasta daisies. These combos create a garden that’s both sturdy and stunning, with foliage that stays lush even when the flowers fade.
The result? A garden that looks intentional, not labor-intensive, and stays beautiful from spring through frost.
Imagine a border where deep purple coneflowers anchor the back row, their roots spreading wide for drought resistance, while lavender catmint spills over the edges, blooming nonstop without a single spent flower in sight.
Add goldenrod for late-season color, and you’ve got a design that’s easy to maintain but impossible to ignore.
This approach works for sunny borders, cottage-style gardens, or even container plantings—just group plants by water needs and height for maximum impact. The key is letting the roots do the heavy lifting while the blooms steal the show. Ready to design a garden that practically takes care of itself?
📚 In This Guide
- What you need
- Instructions
- Tips and common mistakes
- Wrapping up and next steps
What you need
- ● Cold-hardy perennial plants: Choose from the list below (quantities depend on garden size, but start with 3–5 plants per variety for a balanced look): Coneflower (Echinacea purpurea) – 3–5 plants
- ● Black-eyed Susan (Rudbeckia hirta) – 3–5 plants
- ● Russian Sage (Perovskia atriplicifolia) – 1–3 plants
- ● Sedum (Hylotelephium spp.) – 5–7 plants
- ● Daylily (Hemerocallis spp.) – 3–5 plants
- ● Well-draining soil: Amend native soil with compost or aged manure (1–2 inches mixed into the top 12 inches of soil).
- ● Organic mulch: Shredded bark, straw, or pine needles (2–3 inches, applied after planting).
- ● Watering can or hose: With a gentle spray nozzle for even moisture.
- ● Garden gloves: A pair to protect your hands from thorns or rough stems.
- ● Pruners or shears: Bypass pruners (sharp and clean) for minimal trimming.
- ○ Plant labels: Biodegradable or reusable to track varieties (optional but helpful!).
- ● Garden fork: For loosening soil without disturbing roots.
- ● Soil pH test kit: To ensure your soil is slightly acidic to neutral (6.0–7.0)—perennials love this range!
- ● Slow-release fertilizer: Balanced 10-10-10 or compost-based (sprinkle lightly at planting time).
- ● Drip irrigation system: For automated watering (great for busy gardeners!).
- ● Wildlife-friendly additions: Bird feeders or houses (to attract pollinators!).
- ● Native grasses or wildflowers (for extra texture and biodiversity).
Instructions for establishing cold-hardy perennials without deadheading
Here's the straightforward approach I use to get these tough perennials thriving year after year.
🌱 Step 1: Select and Prepare Planting Sites
Choose locations with at least 6 hours of sunlight daily—most cold-hardy perennials need full sun to establish strong roots before winter. I dig a hole twice as wide as the root ball but only as deep as the container's base. This prevents burying the crown too deeply, which can cause rot.
Amend the native soil with 2-3 inches of compost mixed into the bottom of the hole. These perennials tolerate poor soil better than most, but a little organic boost ensures faster establishment. Tap the plant gently from its container to loosen roots before placing it in the hole.
💧 Step 2: Plant and Water Thoroughly
Position the plant so the top of the root ball sits 1 inch below soil level. This slight burial protects against temperature fluctuations. Backfill with native soil, pressing gently to eliminate air pockets. I always water immediately after planting—1 gallon per plant—to settle the soil and encourage root contact.
Don't worry about perfect symmetry. These perennials spread naturally over time. The key is firm but not compacted soil. You'll see new growth emerge within 2-3 weeks if moisture and light are right.
☀️ Step 3: Provide Season-Long Care Without Deadheading
Cold-hardy perennials like coneflowers, black-eyed Susans, and Russian sage thrive when you let spent blooms remain. These dried flowers provide winter interest and protect developing buds from harsh winds. I only remove 10-20% of the oldest stems in early spring to make space for new growth.
Water deeply once weekly during the first growing season, aiming for 1-2 inches of moisture per week. You'll know you're on track when the soil feels damp 2-3 inches down between waterings. Mulch with 2-3 inches of shredded bark in fall to insulate roots through winter.
⏰ Step 4: Monitor for Winter Readiness
By late fall, cut back only the most damaged stems—never more than one-third of the plant. These perennials store energy in their roots, so aggressive pruning weakens them. I leave the foliage until spring, as it protects the crown from temperature swings.
Watch for new growth in early spring—this signals the plant is ready for minimal spring cleanup. You'll see fresh green shoots emerge from the base, often before the old stems have fully browned. This is your cue to remove only the dead material, leaving the new growth intact.
Tips & tricks for perfect cold-hardy perennial establishment
Here's what nobody tells you about getting these tough plants off to the right start.
Sunlight Secret: That "at least 6 hours of sunlight" rule is non-negotiable for cold-hardy perennials. I've seen them struggle in just 5 hours daily—look for spots where they'll get morning sun and afternoon light. South-facing locations work best in northern climates, while east or west exposures work in southern regions. If your yard has limited sun, consider container growing where you can move plants to sunnier spots during winter months.
Root Ball Rescue: When tapping plants from containers, be gentle but thorough—roots should separate easily from the pot. If you encounter resistance, run a knife around the edges first. The goal is to minimize root circling, which can strangle new growth. I always check for circling roots before planting, and if I find them, I make a few vertical cuts to encourage outward growth. This step makes all the difference in establishing strong root systems.
Watering Wisdom: That initial 1 gallon per plant is crucial, but don't stop there. The real secret is maintaining consistent moisture during those first 2-3 weeks while roots establish. I use soaker hoses for new plantings because they deliver water directly to the roots without wetting the foliage, which helps prevent fungal issues. You'll know you're doing it right when you can push your finger 2-3 inches into the soil and feel dampness—not sogginess, just moisture.
Winter Prep: The fall mulching tip is golden, but here's the pro move: wait until after the first hard frost to apply that 2-3 inches of shredded bark. This lets the soil cool gradually, which helps harden off the plants naturally. In my zone 5 garden, I also add a thick layer of leaves over the mulch for extra insulation. The key is to protect the crown while allowing air circulation to prevent rot.
Pro Tips for Roots And Blooms
- Here's what nobody tells you about getting these tough plants off to the right start.
- Sunlight Secret: That "at least 6 hours of sunlight" rule is non-negotiable for cold-hardy perennials.
- Root Ball Rescue: When tapping plants from containers, be gentle but thorough—roots should separate easily from the pot.
Frequently asked questions
What does "cold-hardy" mean for perennials?
Cold-hardy perennials survive winter temperatures down to USDA Zone 3 or lower (as low as -40°F/-40°C for some!). They’ll die back in winter but regrow from their roots in spring. Think hardy coneflowers, black-eyed Susans, or Russian sage—they’re built to bounce back!
Will these perennials still bloom without deadheading?
Yes! Many cold-hardy perennials like sedum or bee balm self-seed or produce second flushes naturally. Others, like catmint, bloom prolifically for months. Deadheading can extend blooms, but these tough plants often reward you even when you skip it!
When should I plant these perennials for best results?
Plant in early spring or fall (4–6 weeks before frost) for the deepest root establishment. Avoid summer heat, which stresses roots. Pro tip: If planting in fall, choose varieties with 3–4 weeks to harden off before winter—like Shasta daisies or daylilies.
Can I replace deadheaded blooms with something else?
Swap spent flowers with foliage plants (like Russian sage or lavender) or ornamental grasses (e.g., feather reed grass) for texture. For color, try heuchera or hebe—they add year-round interest without deadheading!
What if my perennials look sad after winter?
Don’t panic! Brown stems = normal (they’ll regrow). If no new growth appears by late spring, check for rot or pests. Trim dead foliage in early spring to encourage fresh shoots. Bonus: Mulch heavily in fall to protect roots!
Are there any perennials that don’t need deadheading?
Yes! Try cone flowers (Echinacea), goldenrod, or yarrow. These self-clean—their spent blooms dry up and stay upright, adding winter interest. Ornamental onions (like Allium) are another low-maintenance pick!
Wrapping up and next steps
Embracing roots and blooms means choosing plants that reward you with beauty and resilience—no fuss, just stunning results! These cold-hardy perennials prove that nature’s best designs thrive with minimal effort, letting you enjoy vibrant gardens year after year. 🌱✨
Ready to transform your space? Start small—pick one or two perennials from this list, plant them with confidence, and watch your garden flourish without the deadheading drama. Then, expand your palette and share the joy of low-maintenance blooms with fellow plant lovers!