
Blooming
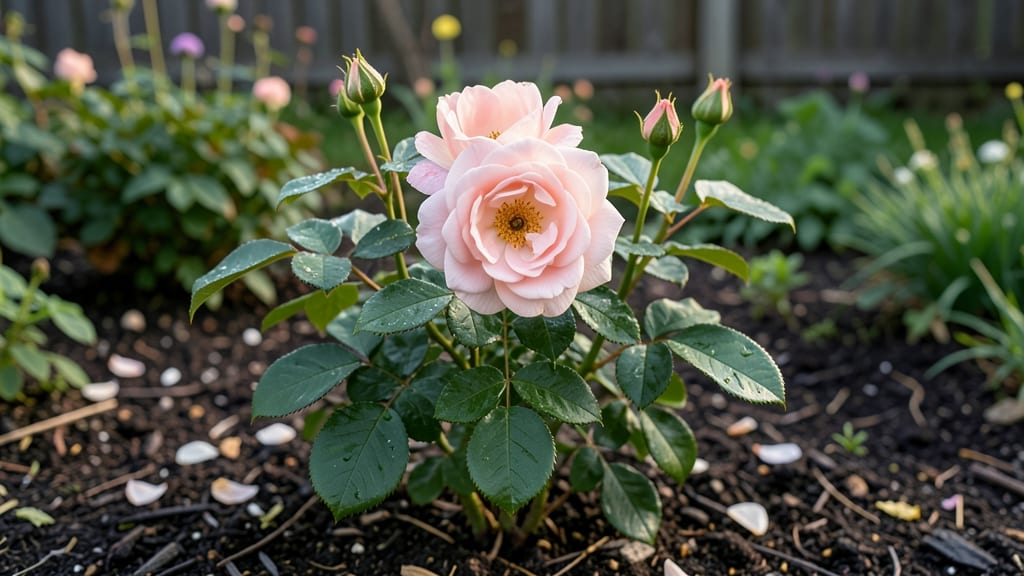
That hand-painted "Love is in Bloom" sign is the easiest way to turn your garden into a romantic springtime escape. ✨ I’ve seen them transform weddings, front porches, and even backyard parties—all with just a few brushstrokes and a little creativity.
The best part? You don’t need fancy tools or years of experience to make it happen.
Start with a simple wooden board or slate, then grab some acrylic paint in soft pastels—think blush pinks, sky blues, and sage greens. Add heart-shaped flowers like Dianthus or Love-in-a-Mist around the sign for extra charm, and you’ve got an instant conversation starter.
The key is keeping it lighthearted; this isn’t about perfection, it’s about celebrating spring’s sweetness.
By the end, you’ll have a sign that feels like a hug for your garden. It’ll welcome guests, frame your favorite blooms, and become the centerpiece of your outdoor space. Plus, it’s something you’ll love looking at for years—just like the love you put into creating it.
Works for weddings, anniversaries, or just because your garden deserves a little extra romance. Here’s how to make it unforgettable!
📚 In This Guide
- What you need
- Instructions
- Tips and common mistakes
- Wrapping up and next steps
What you need
- ● Wooden sign base: 12" x 18" or 16" x 20" (thickness: ¼" to ½") – choose pine, plywood, or reclaimed wood for a rustic touch.
- ● Acrylic paint: 1 bottle each of white, light pink, dark pink, green, and gold (or your preferred color palette).
- ● Paintbrushes: 1 medium-sized flat brush (½" to ¾") for base coats.
- ● 1 fine detail brush (size 2 or 4) for lettering and intricate designs.
- ○ Wood stain or primer: 1 small bottle (optional but recommended for a smoother finish on raw wood).
- ● Wood glue or Mod Podge (matte or glossy):** 1 small bottle for sealing or attaching decorative elements.
- ● Stencils or freehand tools: Transfer paper or a printed stencil of your "Love Is in Bloom" design (or sketch it freehand!).
- ● Sandpaper: 120- and 220-grit (for smoothing rough edges).
- ● Clear sealant: 1 can of polycrylic or Mod Podge (for durability and a professional finish).
- ● Twine or jute rope (for hanging or adding a rustic touch).
- ● Glitter or metallic paint (to add sparkle to flowers or letters).
- ● Small flowers, leaves, or lace (for mixed-media embellishments).
- ● Chalkboard paint (to make the sign reusable with chalk messages).
Step-by-Step instructions for crafting a Love is in Bloom sign
Here’s how to create a hand-painted sign that’ll brighten any spring garden or porch.
🪴 Step 1: Gather Your Materials and Prep the Wood
Start with a clean, dry wood board (about 12x12 inches or your preferred size) and sand it lightly with 120-grit sandpaper to smooth any rough edges. Wipe away dust with a damp cloth—this ensures your paint adheres smoothly. I like to use a light stain or chalk paint first to give the wood a soft base color, like a pale blush or sage green. Let it dry completely before moving forward.
If you’re using a pre-cut sign, skip the sanding and stain. Just make sure it’s free of splinters or debris. A pencil and ruler will help you sketch your design lightly before painting—this keeps everything neat and aligned. Trust me, sketching first saves you from paint smudges and uneven lines.
🎨 Step 2: Paint the Background and Add Floral Accents
Use acrylic paint for vibrant, long-lasting colors. Start by painting the background with a soft hue—think peach, lavender, or mint green—and let it dry fully. While it’s drying, mix a white or cream paint for highlights and a darker shade (like deep pink or navy) for shadows. These will give your flowers depth.
Once the background is dry, lightly sketch your floral design with a pencil. I like to use simple blooms—like roses, tulips, or daisies—with a few leaves for texture. Dip a small round brush into your darker paint and fill in the centers of the flowers first. Then, use the lighter paint to add petals, blending the edges slightly for a natural look.
✂️ Step 3: Add Lettering and Finishing Touches
For the "Love Is In Bloom" text, use a fine-tip brush or a calligraphy pen for elegant lettering. I recommend practicing on scrap wood first to get the spacing right. Start with an outline in black or gold paint, then fill in the letters with a slightly darker shade for dimension. Let the paint dry completely before adding any final details.
Once the lettering is set, add tiny dots or swirls around the flowers and text with a thin brush dipped in gold or white paint. These little accents make the sign pop! Seal everything with a clear acrylic sealer to protect your hard work from weather or accidental spills. Let it cure for 24 hours before displaying.
☀️ Step 4: Mount and Display Your Sign
Attach your sign to a sturdy post, fence, or wall using outdoor screws or hooks. If you’re hanging it, pre-drill holes to avoid splitting the wood. For a rustic look, wrap the post in burlap or twine and tie it with a bow. Place your sign where it gets soft morning light—this makes the colors glow even brighter.
Here’s the thing—your sign will look best if you rotate it occasionally to prevent fading. And if you’re feeling extra creative, add small battery-operated fairy lights around the edges for a magical evening display. Now step back and admire your handiwork—it’s officially spring!
Tips & tricks for perfect hand-painted signs
Here's what nobody tells you about creating a flawless painted sign that'll last seasons.
Prep Like a Pro: In Step 1, don't skip the sanding—even if your wood looks smooth, those tiny imperfections will show through your paint. I use a damp cloth to wipe away dust after sanding, but here's the thing: let the wood dry completely before staining. Wet wood absorbs stain unevenly, and you'll end up with patchy colors. Also, if you're using a pre-cut sign, check for any hidden splinters with your fingers before painting—you'll thank me later when your brush glides smoothly.
The Technique That Changed Everything: When painting the floral accents in Step 2, work from darkest to lightest colors. Start with the flower centers using your darkest shade, then build up to petals with lighter colors. This prevents muddy colors when you blend. Confession: I skipped this for years and wondered why my flowers always looked flat. Pro tip: Use a toothpick to gently lift paint from edges for a natural petal effect. It's the little details that make your sign look handcrafted!
Lettering Secrets: For Step 3, practice your lettering on scrap wood first—trust me, you'll save yourself from frustration. When outlining your text, go over each stroke twice: once with your outline color, then again with a slightly darker shade. This creates that dimensional look without needing fancy calligraphy skills. And here's what nobody tells you—if you make a mistake, let the paint dry completely, then lightly sand the area with 220-grit sandpaper before repainting. It disappears like magic!
Sealing Wisdom: The 24-hour curing time for your acrylic sealer is non-negotiable. I know you're eager to display your masterpiece, but rushing this step can cause the sealant to peel or stick. If you're worried about forgetting, set a phone reminder for exactly 24 hours after sealing. For extra protection, especially if your sign will face harsh weather, apply a second thin coat of sealant after the first 24 hours. Your sign will thank you by lasting for years!
Pro Tips for Love Is In Bloom Sign
- Here's what nobody tells you about creating a flawless painted sign that'll last seasons.
- Prep Like a Pro: In Step 1, don't skip the sanding—even if your wood looks smooth, those tiny imperfections will show through your paint.
- The Technique That Changed Everything: When painting the floral accents in Step 2, work from darkest to lightest colors.
Frequently asked questions
When is the best time to paint or display this sign?
Spring is the perfect time to paint and display your sign—think March through May! If you’re gifting it, aim for early April (National Garden Month) or Mother’s Day for extra heartfelt impact. For indoor displays, any time is lovely, but spring vibes make it pop!
What if my paint smudges or looks uneven after drying?
No worries! Let the paint cure fully (24 hours for most acrylics) before handling. If smudges happen, lightly sand the area with 220-grit sandpaper, wipe with a damp cloth, and repaint. For a smoother finish, use a clear acrylic sealer after drying—it’ll protect your hard work!
Can I use this sign for events other than spring?
This sign is versatile—use it for weddings (as a guestbook charm), anniversaries, or even as a sweet gift for new moms. Swap out the paint colors to match the theme (e.g., blush pink for Valentine’s Day or gold for holidays). Get creative!
What’s the easiest way to attach it to a fence or wall?
For fences or outdoor use, pre-drill holes and secure with stainless steel screws or heavy-duty hooks. Indoors? Command Strips (for lightweight signs) or small nails work great. Pro tip: Add a weatherproof sealant if displaying outside to keep it fresh for years!
How do I personalize it for a specific recipient?
Add a handwritten message in cursive on the back or inside the frame! For extra flair, include a pressed flower or tiny charm (like a heart or butterfly). If gifting, pair it with a potted plant or spring-themed decor for a complete look. Thoughtful touches make it unforgettable!
Wrapping up and next steps
Your hand-painted “Love Is In Bloom” sign isn’t just a craft—it’s a celebration of spring’s joy and the love you pour into every brushstroke.
Whether you’re gifting it to a loved one or keeping it as a reminder of your creative spirit, this project is a beautiful way to welcome brighter days ahead. 🌸✨
Ready to share the love? Take a photo of your finished sign, tag a friend who’d adore it, or even frame it as a keepsake. Your creativity has bloomed—now let it inspire others!