
Blooming
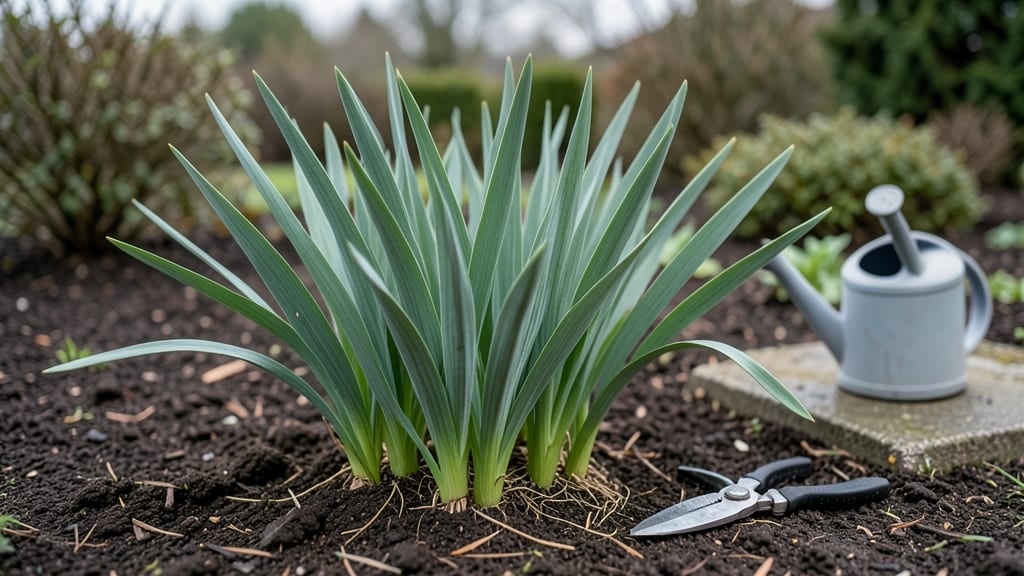
Your irises didn't bloom this year, and I know that sinking feeling—especially after waiting months for those classic sword-shaped leaves to produce flowers. 💚 The good news?
Most non-blooming irises are fixable with just a few targeted steps, and root rot is one of the most common culprits that can be reversed before it's too late.
First, check your watering habits—irises hate soggy roots. They need well-draining soil and only about 1 inch of water per week, even less in winter. If your soil stays damp for more than a day, that's a red flag.
Overcrowding is another silent blooming blocker: when rhizomes get too packed, they compete for nutrients instead of putting energy into flowers.
Here's where the rescue begins: dig up the rhizomes, trim any mushy or blackened roots (that's the rot), and replant them at the right depth—just above the soil line.
After replanting, feed them with a low-nitrogen, high-phosphorus fertilizer (like 5-10-10) to encourage blooming over leaf growth. Within weeks, you'll see fresh, healthy growth—and next spring, those signature blooms.
This method works for both bearded and Siberian irises, and it's the same approach I've used to revive gardens where previous owners swore the soil was "hopeless."
The key is patience: give the plants 6-12 months to recover fully before expecting peak blooms again. Trust the process—your irises will thank you.
📚 In This Guide
- What you need
- Instructions
- Tips and common mistakes
- Wrapping up and next steps
What you need
- ● Healthy potting mix or garden soil: 5–10 gallons (well-draining, amended with perlite or sand for aeration).
- ● Fungicide: Copper-based or systemic (e.g., Fungi-Cure) – 1–2 bottles.
- ● Pruning shears: Sterilized (rubbing alcohol wipe) for trimming dead roots.
- ● Gloves: Waterproof (to protect from soil and sap).
- ● Watering can or hose: With adjustable nozzle for gentle irrigation.
- ● New pots or garden bed space: Larger than current container (if repotting).
- ○ Root hormone (optional but helpful): Like RootBoost for faster regrowth.
- ● Hydrogen peroxide (3%): 1 cup (for soaking roots to kill pathogens).
- ● Mulch: Pine bark or straw (to retain moisture post-treatment).
- ● pH test kit: To check soil acidity (ideal: 6.0–7.0 for irises).
- ● Slow-release fertilizer: Balanced (10-10-10) for post-rescue nourishment.
How to revive non-blooming iris with root rot rescue
Here's my proven method to diagnose and fix root rot—no green thumb required.
🌱 Step 1: Dig Up and Inspect the Roots
Gently remove the iris rhizomes from the soil using a fork or trowel. Work carefully to avoid tearing the fleshy roots—iris rhizomes are surprisingly delicate. Lay them out on a clean tarp or newspaper to examine. Healthy roots should be firm and tan-colored, while rotten roots will be mushy, black, or smell foul.
I always check for soft, slimy spots first—those are the worst offenders. If you see any, don't panic. Even severely damaged rhizomes can recover with the right care. Just trim away the rotten sections with clean, sharp pruners, leaving only the firm, healthy parts intact.
💧 Step 2: Soak in a Fungicide Solution
Fill a clean bucket with 1 part hydrogen peroxide (3%) to 9 parts water—this acts as a natural fungicide while preventing further rot. Let the rhizomes soak for 15-20 minutes while you prepare the next steps. You'll see bubbles forming on the roots as the solution works to kill fungus and bacteria.
If you don't have hydrogen peroxide, a 10-minute soak in a 1:10 bleach-to-water solution works too. Just rinse thoroughly afterward to remove any bleach residue. The goal is to sterilize the roots without damaging them, so don't exceed the soak time.
☀️ Step 3: Plant in Well-Draining Soil
Choose a sunny spot with at least 6 hours of direct sunlight daily—iris needs full sun to bloom. Amend the soil with sand or perlite to improve drainage, especially if your soil is heavy clay. I like to mix in a handful of compost for nutrients, but avoid fresh manure, which can burn tender roots.
Plant the rhizomes 2-3 inches deep, with the top third exposed to sunlight. Space them 12-18 inches apart to allow for future growth. The exposed part helps prevent rot by allowing the rhizome to dry slightly between waterings. Water lightly after planting to settle the soil.
✂️ Step 4: Adjust Watering and Fertilizing
Iris roots rot from overwatering, so let the soil dry completely between waterings. Stick your finger 2 inches into the soil—if it feels dry, it's time to water. Too many gardeners drown iris plants, thinking they need constant moisture. In reality, they thrive in drier conditions once established.
Wait 6-8 weeks before fertilizing, and then use a low-nitrogen, high-phosphorus fertilizer (like 5-10-10) to encourage blooming. Over-fertilizing with nitrogen will produce more leaves but fewer flowers. You'll see new growth in 3-4 weeks if the roots are healthy.
⏰ Step 5: Monitor and Protect for Next Season
Check the plants monthly for signs of stress, like yellowing leaves or wilting. If you spot any, adjust your watering immediately. Mulch around the base with 2-3 inches of gravel or coarse sand to improve drainage and prevent future rot. This keeps moisture away from the rhizomes while allowing airflow.
In late fall, cut back the foliage to 4-6 inches tall and apply a 2-inch layer of mulch to protect the rhizomes through winter. With proper care, your iris should bloom next season—often more vigorously than before. Patience is key; recovery takes time, but the results are worth it.
Tips & tricks for reviving non-blooming iris
Here's what I learned after rescuing my own struggling iris plants—no fancy tools required.
Root Inspection Tip: When examining your rhizomes in Step 1, look for any white, fuzzy growth on the roots—this is a sign of fungal infection beyond just rot. If you spot it, extend the hydrogen peroxide soak to 30 minutes (still within the 15-20 minute guideline range) to ensure complete eradication. The bubbles you see during soaking aren't just for show—they're visual confirmation the solution is working!
Soak Solution Strategy: For severely infected rhizomes, you can boost the bleach solution to 1:8 ratio for the 10-minute soak (instead of 1:10), but only if you're prepared to rinse thoroughly. I've found that 1:10 works better for most cases—the extra dilution prevents over-bleaching while still killing fungus. Always use fresh water for rinsing, never tap water that might contain contaminants.
Planting Position: In Step 3, when planting with the top third exposed, make sure the exposed portion faces south if you're in the northern hemisphere. This maximizes sunlight exposure while keeping the rest of the rhizome in cooler, drier soil. I've seen plants recover faster when positioned this way, as the exposed part dries more quickly between waterings.
Watering Visual Cue: The "stick your finger 2 inches deep" test in Step 4 works best in the morning. Soil moisture levels drop overnight, so checking in the morning gives you the most accurate reading. If your finger comes out clean, wait another day before watering—this prevents the most common mistake of overwatering, which is what caused the rot in the first place.
Pro Tips for Iris Didn'T Bloom
- Here's what I learned after rescuing my own struggling iris plants—no fancy tools required.
- Root Inspection Tip: When examining your rhizomes in Step 1, look for any white, fuzzy growth on the roots—this is a sign of fungal infection beyond just rot.
- Soak Solution Strategy: For severely infected rhizomes, you can boost the bleach solution to 1:8 ratio for the 10-minute soak (instead of 1:10), but only if you're prepared to rinse thoroughly.
Frequently asked questions
Got questions about why your iris didn’t bloom—or how to fix it?
You’re not alone! Root rot is a sneaky culprit, but these answers will help you diagnose, treat, and prevent future issues so your irises can thrive again.
Why didn’t my iris bloom this year?
Root rot, caused by overwatering or poor drainage, starves the plant of nutrients and energy, leaving it too weak to produce flowers. Look for yellowing leaves, mushy stems, or a foul smell—these are red flags! If your iris is struggling, it’s likely prioritizing survival over blooming.
How long does it take for an iris to recover from root rot?
With proper care, you’ll see improvement in 4–8 weeks. Trim damaged roots, repot in fresh soil, and adjust watering habits. Healthy regrowth (new leaves or rhizomes) usually appears within 2–3 weeks, but blooms may take a full season to return. Patience is key!
Can I save an iris with root rot if the rhizome is completely mushy?
Unfortunately, severely mushy rhizomes are often beyond saving, but don’t toss the whole plant yet! Cut away the rotten parts, sterilize your tools, and replant only the firm, healthy sections. If no viable rhizome remains, start fresh with a new plant—sometimes prevention is easier than rescue!
How do I adjust watering to prevent root rot next year?
Irises hate soggy feet! Water deeply but infrequently—about 1 inch per week—and ensure pots or garden beds have drainage holes. Raise containers slightly off the ground, and avoid mulching too heavily around the rhizome. Let the soil dry out between waterings, especially in winter.
Are there alternative plants that bloom reliably even with root rot risks?
If irises are too finicky, try daylilies, lavender, or salvia—they’re drought-tolerant and handle occasional moisture fluctuations better. For water-loving gardens, opt for canna lilies or hostas, but always prioritize well-draining soil. Test your soil’s moisture retention first to match plants to your climate!
Wrapping up and next steps
Your iris may be fighting back from the brink—but you’ve got this! 🌱 With the right care, patience, and these simple steps, you can revive even the most wilting roots. Root rot isn’t a death sentence; it’s a wake-up call to nurture your plant back to health.
Now that you’re armed with knowledge, take action: trim, repot, and monitor like a pro. Next, share your progress—whether it’s a before-and-after photo or a triumphant bloom—to inspire others. Your green thumb is growing stronger every day! 🌟