
Blooming
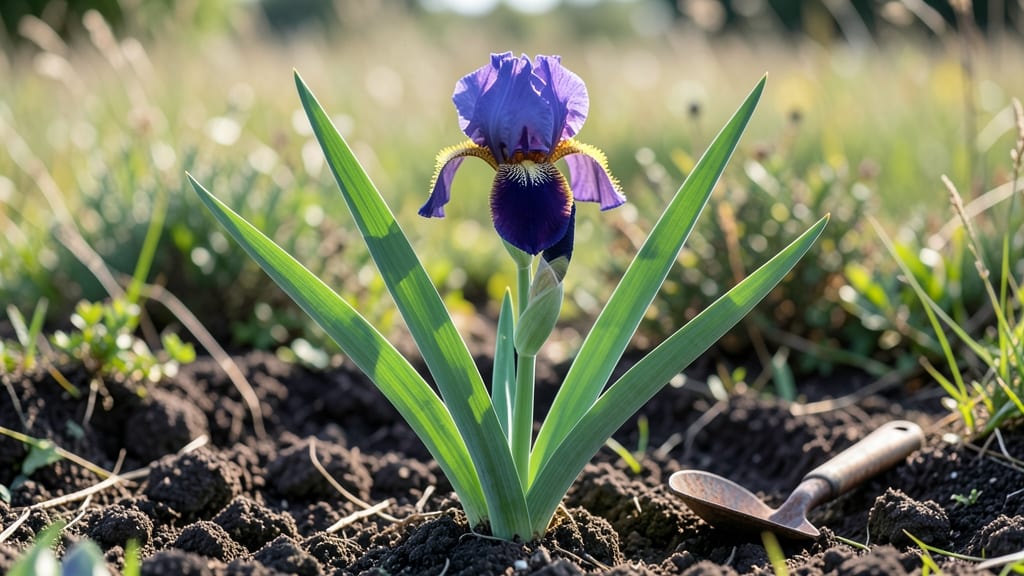
Your irises are storing up energy for next year's purple spikes right now. ✨ The secret to those towering blooms starts with what you do—or don't do—before the first leaves appear.
Most gardeners stop caring after the flowers fade, but the real work happens in late winter when the plant is dormant but hungry.
First, leave last year's foliage alone—it's feeding the roots until late spring. Then, in early March, remove any dead or yellowed leaves that might harbor pests. This isn't pruning; it's tidying up so your irises focus their energy on new growth.
The key is patience: don't rush to cut anything until you see fresh green shoots emerging.
You'll reward yourself with stronger stems and more abundant blooms by next season. The plants will send up thick, sturdy leaves that support those signature purple spikes. This is the time to also check for crowded clumps—if you see multiple fans growing together, mark them for division after blooming.
Works for bearded, Siberian, and even Japanese irises—just adjust timing slightly for your climate. The goal is to give your irises a clean slate while keeping their natural energy flow intact. Let's get those spikes ready to shine!
📚 In This Guide
- What you need
- Instructions
- Tips and common mistakes
- Wrapping up and next steps
What you need
- ● Sharp, clean pruning shears – Bypass pruners (sterilized with rubbing alcohol) to avoid damaging stems or spreading disease.
- ● Gloves – Garden or work gloves (nitrile or leather) to protect hands from thorns and sap.
- ○ Disinfectant (optional but recommended) – 70% isopropyl alcohol or bleach solution (1 part bleach to 9 parts water) for sterilizing tools between cuts.
- ● Trash bag or compost bin – For discarded foliage and debris.
- ○ Notebook & pen (optional) – To track pruning dates and plant health notes.
- ● Timing – Prune 4–6 weeks before the expected bloom time (varies by iris variety; research your specific type!).
- ● Healthy irises – Only prune established plants (2+ years old) with no signs of disease (e.g., yellowing leaves, mold).
- ● Dry weather – Avoid pruning after rain to prevent fungal issues.
- ● Sunny day – Choose a bright, dry afternoon for optimal healing.
- ● ✨ Sharpen your tools – Dull shears crush stems, stressing the plant. Test your shears on a piece of paper before pruning.
- ● 🌡️ Sterilize between plants – If moving between iris clumps, wipe blades with disinfectant to prevent cross-contamination.
- ● 🎯 Leave the fan leaves – Only remove dead or yellowed foliage; healthy leaves photosynthesize for next year’s blooms!
Instructions for pre-bloom iris pruning
Here’s how to prep your irises for stunning purple spikes—no fancy tools, just sharp timing.
🌱 Step 1: Identify and Mark the Best Stems
Start by scanning your iris clumps for the healthiest, thickest stems. These are your future bloomers—the ones with strong, upright growth and no signs of yellowing or spots. I like to use a small flag or even a bright ribbon tied loosely around the base of the strongest stems to mark them. This helps avoid accidentally cutting the wrong ones later.
Watch for fan-shaped leaves at the base—these indicate mature rhizomes ready to support blooms. If a stem has fewer than 3-4 leaves, it’s likely too young to flower this year. Let it grow for next season instead. Marking now prevents confusion when stems get crowded.
✂️ Step 2: Prune Dead and Weak Stems Early
Before the blooms even appear, remove any brown, mushy, or hollow stems at the base with clean, sharp pruners. These are signs of rot or disease that can spread to healthy growth. Cut 1 inch below the damaged area to prevent splintering. I always sterilize my pruners with rubbing alcohol between cuts—this keeps bacteria from hitching a ride to your healthy stems.
Don’t wait until after blooming to do this. Removing weak stems now lets the plant focus energy on the marked stems you’ve chosen. You’ll notice the marked stems stand taller and thicker within a few weeks. If you skip this, your irises might produce fewer—but bigger—blooms later, and you’ll have to prune more aggressively after flowering.
☀️ Step 3: Thin Crowded Clumps for Better Airflow
Irises need space to breathe, especially before blooming. Gently lift the rhizomes (the thick, horizontal roots) with a fork or your hands and separate any clumps where stems are growing too close together. Aim for 3-4 healthy stems per rhizome—this prevents overcrowding, which stresses plants and reduces bloom quality. I like to space them 12-18 inches apart in the soil.
Here’s the thing—if you see multiple stems growing from a single rhizome, some will compete for nutrients. Thin them now so the strongest ones get all the energy. After replanting, water lightly to settle the soil but avoid soaking the rhizomes. They rot easily if buried too deep or kept too wet.
⏰ Step 4: Wait for Blooms to Fade Before Final Pruning
Once your marked stems bloom, let the flowers fade naturally on the stems. This ensures the plant can absorb nutrients from the seed pods that form after blooming. I resist the urge to cut them early—even if they look spent. Wait until the petals turn brown and crispy, about 4-6 weeks after flowering, before cutting the stems back to the ground.
This might seem counterintuitive, but it’s how irises store energy for next year’s blooms. If you cut too soon, you’ll weaken the rhizome and get fewer spikes next season. After pruning, I add a light layer of compost around the base to replenish nutrients. This keeps the soil rich and ready for the next round of growth.
Tips & tricks for pre-bloom iris pruning
These little adjustments will transform your iris garden from good to spectacular—no green thumb required.
Marking Made Easy: If you don’t have flags or ribbons, use what you’ve got! I’ve used colorful twist ties, even bright nail polish marks on the soil—anything visible works. The key is making it obvious so you don’t accidentally trim your future blooms later. Pro tip: Take a quick photo of your marked stems before pruning. That way, if you forget which ones you chose, you’ve got visual proof.
Pruner Prep: Sterilizing your pruners between cuts isn’t just about hygiene—it’s about giving your irises a fighting chance. I keep a small bottle of rubbing alcohol in my gardening toolkit and wipe down blades after every 3-4 cuts. This prevents cross-contamination that could turn your healthy stems into future casualties. Think of it like washing your hands before surgery—just for plants!
Thinning Strategy: When you’re separating rhizomes in Step 3, pay special attention to the ones with multiple stems. These are the biggest offenders for nutrient competition. I like to keep the strongest, most upright stem and remove the rest—even if they look healthy. This might seem drastic, but it guarantees the remaining stem gets all the energy it needs to produce that showstopping purple spike. Remember, you’re not just pruning—you’re directing growth.
Bloom Timing: The 4-6 week window for waiting to prune after blooming can feel like forever, especially when those beautiful purple flowers are wilting. But here’s the secret: Set a reminder on your phone for exactly 4 weeks after your irises bloom. That way, you won’t be guessing when to make that final cut. And if you’re impatient, just snap a photo of the first browned petal—you’ll know exactly when to act.
Pro Tips for Iris Before Bloom
- These little adjustments will transform your iris garden from good to spectacular—no green thumb required.
- Marking Made Easy: If you don’t have flags or ribbons, use what you’ve got!
- Pruner Prep: Sterilizing your pruners between cuts isn’t just about hygiene—it’s about giving your irises a fighting chance.
Frequently asked questions
Got questions about pre-bloom iris pruning? You’re not alone!
Here are the most common concerns gardeners have—plus quick, actionable answers to keep your irises thriving.
What’s the best time to prune irises before they bloom?
Prune after the blooms fade but before the seed pods form—usually 4–6 weeks post-bloom. This timing (late spring to early summer) ensures you remove spent flowers while leaving energy for next year’s growth. Pro tip: Avoid cutting leaves unless they’re yellowed or damaged!
How much should I trim iris blooms?
Cut the flower stalk (the leafless stem) down to the ground—no need to fuss with the leaves! Over-trimming leaves can weaken the rhizome. If you’re dealing with reblooming varieties, leave some stalks to encourage a second flush. Never prune more than 1/3 of the foliage!
What if I prune too late or miss the window?
Don’t panic! If you miss the ideal time, wait until the seed pods dry and turn brown (late summer). Prune then, but expect fewer blooms next year. Mark your calendar for next season—irises thrive on consistency!
Can I prune irises in early spring?
Early spring pruning is a no-go—it removes stored energy the plant needs to bloom. Focus on cleaning up debris around the rhizomes (but leave the foliage). Think of it as a “spring tidy,” not a trim!
Do I need to fertilize after pruning?
Yes! Apply a low-nitrogen, high-phosphorus fertilizer (like 5-10-10) 2–3 weeks after pruning to boost root and bloom development. Avoid high-nitrogen feeds—they promote leafy growth over flowers. Irises love a balanced diet!
Wrapping up and next steps
Pre-bloom pruning your irises is like giving them a head start—a small effort now can lead to stunning purple spikes later! By trimming back those early shoots, you’re not just shaping your garden; you’re boosting next year’s blooms and keeping your plants healthy. 🌸
Ready to see the magic unfold? Grab your shears and give it a try—your irises (and your future garden) will thank you! For even more tips, check out our guide on iris care year-round.