
Blooming
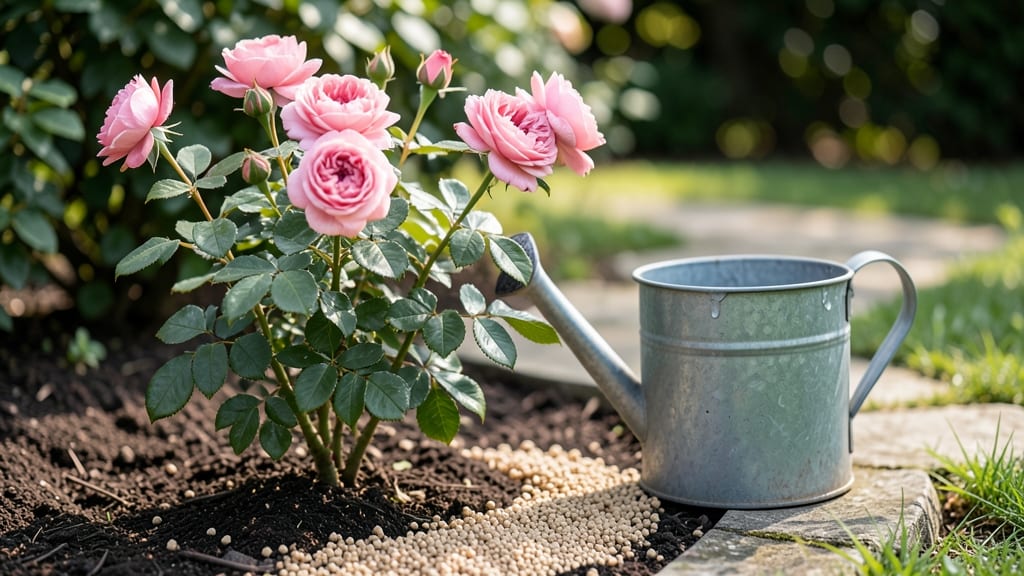
To make roses bloom more, start with sharp pruning shears and a clear plan—this one technique alone can double your flower production. 🌹 I’ve seen stubborn bushes transform from sparse stems to lush, blooming shrubs after just one season of targeted cuts.
The key isn’t just cutting back, but pruning correctly—at the right angle, on the right buds, and at the right time of year. Most gardeners over-prune or under-prune, both of which starve roses of energy.
You’ll focus on removing dead, crossing, or weak growth while leaving strong canes with 5-7 buds per stem. This forces the plant to redirect energy into new, vibrant blooms instead of floppy stems. The payoff? Longer stems, bigger flowers, and blooms that last weeks longer than store-bought roses.
Seasonal timing matters too—spring is your prime window, but summer trimming keeps flowers coming. I’ll show you exactly where to cut (and where not to) so you avoid the classic mistake of hacking off next year’s blooms. With these adjustments, even neglected roses can become the showstopper of your garden.
Works for hybrid teas, floribundas, and old garden roses alike. Let’s get those shears ready—your roses are about to put on a show.
📚 In This Guide
- What you need
- Instructions
- Tips and common mistakes
- Wrapping up and next steps
What you need
- ● Pruning shears or bypass pruners: Sharp, clean, and disinfected (rubbing alcohol or bleach solution works). Look for bypass-style shears (not anvil-type) for cleaner cuts.
- ● Garden gloves: Heavy-duty, cut-resistant gloves (e.g., mechanized or leather) to protect against thorns.
- ● Disinfectant solution: Mix 1 part bleach to 9 parts water (or use 70% isopropyl alcohol) to sterilize tools between cuts and prevent disease spread.
- ○ Rake or hoe: For clearing dead leaves, mulch, or debris around the rose base (optional but helpful for visibility).
- ● Pruning saw (for thick stems): If your roses have wood thicker than ½ inch, a curved pruning saw makes the job easier.
- ● Sharpie or permanent marker: For labeling cuts (e.g., marking 5-eye buds from the base).
- ● Compost or organic mulch: 2–3 inches of aged compost or wood chips to replenish soil nutrients post-pruning.
- ● Hand lens or magnifying glass: To inspect buds and identify dormant eyes clearly.
- ● Rose fertilizer: Balanced (10-10-10) or high-phosphorus (5-10-5) for blooming boosts. Apply 4–6 weeks after pruning.
- ● Plant growth regulator (PGR): Like Paclobutrazol, to delay blooming and encourage larger, longer-lasting flowers (use sparingly!).
- ● Pruning sealant: Not recommended for roses (can trap moisture), but a copper fungicide helps prevent bacterial infections.
- ● Watering can with a rose: For deep watering after pruning (aim for 1–1.5 inches per week).
Step-by-step pruning secrets for longer, brighter rose blooms
Here's the method I rely on to transform my roses from occasional bloomers into nonstop flowering showstoppers.
✂️ Step 1: Prune at the Right Time for Maximum Growth
Timing is everything with roses. I prune my hybrid teas and floribundas in early spring, right when the forsythia bushes start flowering—usually late March to early April in most climates. This gives the plant 6-8 weeks of warm weather to build strong canes before summer heat arrives.
Never prune in fall or winter—you'll encourage new growth that won't harden off before cold snaps. If you missed spring, wait until after the last frost when new buds begin to swell. Look for tight, plump buds along the stems—these signal the plant is ready to respond to pruning.
🌿 Step 2: Cut Back to the Right Structure for Blooming Energy
Use clean, sharp pruners to make cuts at a 45-degree angle about ¼ inch above an outward-facing bud. This creates a natural water runoff and directs growth outward for better air circulation. I remove one-third to one-half of the plant's height, cutting back to strong, healthy canes that are about ½ inch in diameter.
Here's the key: never cut into old wood (wood older than 3 years). Look for green stems with visible buds—these are your growth centers. If you see bare, gray canes, you've gone too far. Real talk: I've killed roses by over-pruning, so I now mark my cuts with a piece of tape before making them.
☀️ Step 3: Shape for Sunlight and Airflow After Pruning
Open up the center of the plant by removing any crossing or rubbing branches—these compete for energy and create disease pockets. Aim for an open vase shape that lets sunlight penetrate to the center. You'll see new buds forming within 4-6 weeks if you've pruned correctly.
Don't leave stubs longer than ⅛ inch—they rot and attract pests. I always clean my pruners with rubbing alcohol between cuts to prevent spreading disease. After pruning, water deeply to help the plant recover and encourage root growth.
💧 Step 4: Feed and Water for Continuous Blooming
Apply a balanced rose fertilizer (10-10-10) 4-6 weeks after pruning, then every 4-6 weeks through summer. I use organic compost tea as a supplement because roses love phosphorus for blooms but need potassium for disease resistance. Water deeply 2-3 times per week—roses hate wet feet but need consistent moisture.
Watch for new growth—it should be dark green and vigorous. If you see yellow leaves, it's often a sign of overwatering or nutrient deficiency. I adjust my watering based on rainfall: 1 inch per week total (rain + irrigation). Mulch with 2-3 inches of organic mulch to retain moisture and regulate soil temperature.
⏰ Step 5: Deadhead and Maintain Through the Season
Deadhead spent blooms immediately by cutting back to the first healthy leaf below the bloom. This redirects the plant's energy into producing more blooms instead of seed pods. I do this every 2-3 days during peak bloom season to keep my roses looking fresh.
In late summer, give your roses a light trim to remove any weak or diseased growth. This second pruning encourages fall blooms and prepares the plant for winter. I always prune in the morning when stems are firm and diseases are less likely to spread.
Tips & tricks for perfect rose pruning
These pruning secrets will help you transform your roses into continuous bloomers—no matter your experience level.
Timing Secret: The 6-8 week window after pruning is critical for establishing strong canes. I've found that planting a small flag in your garden when you prune helps track this period visually. If you miss spring pruning, wait until after the last frost when you see those tight, plump buds—this is your plant's way of saying "I'm ready!"
Cutting Technique: That 45-degree angle isn't just for looks—it creates a natural water runoff that prevents disease. I like to practice on a few branches first to get comfortable making clean cuts about ¼ inch above the bud. Pro tip: Hold your pruners at a slight downward angle to avoid tearing the bark. The goal is to make the cut look like a smile—smooth and confident!
Post-Pruning Care: The deep watering after pruning isn't just about hydration—it helps the plant recover from the stress of cutting. I've learned that watering in the morning gives roots time to absorb moisture before evening heat. And that 2-3 inches of organic mulch? It's like putting a cozy blanket around your roses' roots, keeping them at the perfect temperature.
Fertilizer Strategy: That 4-6 week interval between feedings gives your roses time to use the nutrients before getting more. I've had the best results using a slow-release fertilizer in early spring, then switching to liquid feeds during peak bloom. The key is watching your plant—dark green, vigorous growth means it's happy; yellow leaves mean it's either overwatered or needs more nutrients.
Pro Tips for Make Roses Bloom More
- These pruning secrets will help you transform your roses into continuous bloomers—no matter your experience level.
- Timing Secret: The 6-8 week window after pruning is critical for establishing strong canes.
- Cutting Technique: That 45-degree angle isn't just for looks—it creates a natural water runoff that prevents disease.
Frequently asked questions
Got questions about coaxing those stunning roses into blooming more? Here are some of the most common ones—and their answers!
Why aren’t my roses blooming even after pruning?
If your roses still seem reluctant to bloom, check for over-pruning (too many cuts = fewer flower buds) or nutrient deficiencies (like low nitrogen or phosphorus). Also, ensure they’re getting 6+ hours of sunlight daily and aren’t stressed by pests or disease.
When is the best time to prune for maximum blooms?
For spring-blooming roses, prune in late winter or early spring (just before new growth starts). Repeat-blooming varieties (like hybrid teas) need a light trim after the first flush of flowers to encourage more blooms. Avoid heavy pruning in fall—it can stress the plant.
Do roses need special watering to bloom better?
Yes! Roses love deep, consistent watering—about 1–2 inches per week, especially during bud formation. Water at the base (not the leaves) to prevent fungal issues. Morning watering is best to reduce evaporation and disease risk.
Can I use fertilizer to make roses bloom more?
Use a balanced rose fertilizer (like 10-10-10) in early spring and a phosphorus-heavy formula (like 5-10-5) when buds form. Organic options (compost, fish emulsion) work too. Just avoid over-fertilizing—it can lead to lush foliage but fewer blooms!
What if my roses bloom once and then stop?
This usually means they’re exhausted from one big bloom cycle (common in old-fashioned roses). For repeat bloomers, deadhead spent flowers and prune lightly after the first flush. If it’s a once-a-year bloomer, enjoy the show—it’s their natural rhythm!
Does temperature affect rose blooming?
Roses love warmth but can suffer in extreme heat or cold. Hot spells may cause buds to drop—provide afternoon shade if temps hit 90°F+. Late frosts can damage buds, so protect young roses with frost cloth if needed.
Wrapping up and next steps
With these pruning secrets, you’re already on your way to a showstopping rose garden! 🌹 Remember, the key is patience, consistency, and a little love—your roses will reward you with vibrant, long-lasting blooms in no time.
Start small: pick one technique (like deadheading or shaping) and master it before expanding. Soon, your garden will be the talk of the neighborhood!
🌱 Next Step: Track & Celebrate!
Keep a simple journal of your pruning dates and results. Snap photos of your progress—you’ll be amazed at how far you’ve come! Share your blooms with fellow gardeners or post them online for inspiration. Happy pruning!