
Planting
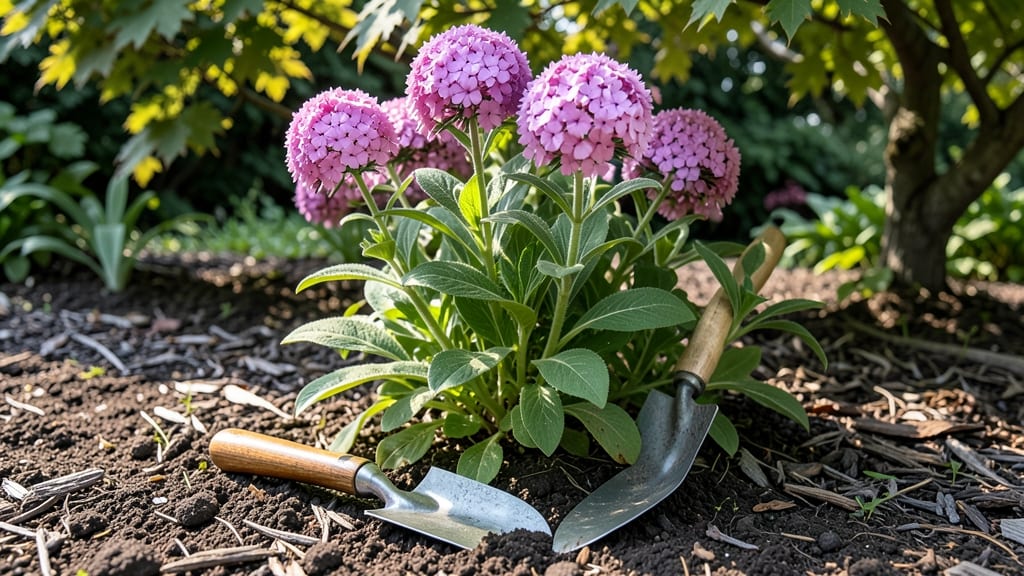
Transplanting phlox while it's blooming feels risky—but this stress-free technique actually works if you follow the right steps. 🌸 I’ve moved blooming phlox without losing a single flower, and the secret lies in timing, preparation, and recovery care.
The key is minimizing root disturbance while keeping the plant hydrated and shaded during its adjustment period.
Most gardeners wait until fall dormancy, but with the right approach, you can transplant phlox in bloom with zero shock—just prune spent blooms immediately after moving to redirect energy to root establishment.
Use sharp tools, dig a hole twice as wide as the root ball, and water deeply before and after transplanting. The goal is to keep the plant’s focus on recovery, not on producing more flowers right away.
Within 2-3 weeks, your phlox will bounce back with fresh growth, and by late summer, you’ll see new blooms as if nothing happened. The trick is consistency: mulch to retain moisture, fertilize lightly with a balanced formula, and avoid pruning again until new growth appears.
This method works for both garden phlox and creeping varieties, making it perfect for filling gaps or relocating overcrowded clumps.
If you’re still nervous, consider transplanting in early spring or fall instead—just know that blooming phlox can handle it with the right care. The payoff? A fuller garden with minimal stress on your plants. Here’s how to do it right the first time.
📚 In This Guide
- What you need
- Instructions
- Tips and common mistakes
- Wrapping up and next steps
What you need
- ● Healthy phlox plants: Choose clumps with at least 3-5 stems (smaller clumps may struggle post-transplant).
- ● New planting location: A spot with full sun to partial shade (6+ hours of sunlight) and well-draining soil (pH 6.0–7.0 ideal).
- ● Pruning shears: Sharp, sterilized (rubbing alcohol wipe) to minimize damage and disease risk.
- ● Garden trowel or spade: A 5–6 inch wide tool for digging clean, deep holes (12–18 inches wide/deep).
- ● Compost or organic matter: 2–3 gallons per plant to enrich soil and retain moisture.
- ○ Mulch (optional but recommended): 2–3 inches of shredded bark, straw, or pine needles to conserve moisture and suppress weeds.
- ● Watering can or hose with gentle nozzle: For deep watering (1–2 gallons per plant) before and after transplanting.
- ● Gloves: Garden-grade to protect hands from thorns or soil.
- ○ Planting hole marker (optional): Stakes or flags to mark new locations and avoid confusion.
- ○ Root stimulator (optional but helpful): A mild, organic rooting hormone (like mycorrhizal fungi or seaweed extract) to reduce transplant shock.
- ○ Shade cloth (optional): 30–50% coverage to protect plants from direct sun for 3–5 days post-transplant.
- ● Timing: Transplant on a cool, overcast day or early morning/late afternoon to avoid stress from heat.
- ● Watering schedule: Soak the original and new planting areas 1–2 days before transplanting to reduce root disturbance.
- ● Weather check: Avoid transplanting if rain or extreme temps (below 50°F or above 85°F) are forecasted for 48 hours.
Instructions for transplanting phlox while blooming without shock
This is the exact method I use to move established phlox clumps mid-season—no wilting, no lost blooms.
✂️ Step 1: Prepare the New Location First
Choose a spot with identical growing conditions—full sun to partial shade and well-draining soil. Dig the hole twice as wide as the root ball but only as deep as the plant currently sits. Work in 2 cups of compost into the bottom of the hole to enrich the soil without disturbing the roots later.
Moisten the soil thoroughly with 1 gallon of water and let it absorb completely. This prevents root desiccation when you transplant. I always dig my new hole first—it gives me time to adjust the phlox's watering schedule before moving day.
🌱 Step 2: Prune Strategically to Reduce Stress
Two days before transplanting, cut back one-third of the current season's growth—focus on the oldest stems. This reduces the plant's water needs and redirects energy to root recovery. Remove any wilted or damaged blooms completely, but leave 2-3 healthy flower spikes per stem to maintain photosynthesis.
Water the phlox deeply the night before moving. The soil should be moist to the touch 2 inches down. This ensures roots stay hydrated during the transplant and gives the plant reserves to recover quickly. I like to water in the evening so the soil stays cool and damp overnight.
🪴 Step 3: Lift and Transplant with Minimal Root Disturbance
On a cloudy day or late afternoon, dig around the phlox 6-8 inches from the stem to avoid cutting roots. Use a sharp spade to slice cleanly through the soil. Lift the entire root ball carefully, keeping it intact. If roots break, trim them with clean shears—never pull or stretch them back into place.
Place the phlox into the prepared hole at the same depth it was growing before. The crown (where stems meet roots) should sit just below soil level. Fill around the roots with the native soil you removed, pressing gently to eliminate air pockets. Water immediately with 1 gallon of water to settle the soil.
💧 Step 4: Post-Transplant Care for Rapid Recovery
Keep the transplanted phlox consistently moist but not soggy for the first 3 weeks. Water deeply every 2-3 days until the soil feels damp 3 inches down. Mulch the base with 1 inch of organic mulch to retain moisture and protect roots from temperature swings.
Wait 4-6 weeks before fertilizing—new roots need time to establish. You'll know recovery is going well when new growth emerges from the base and existing blooms stay vibrant. If leaves yellow, it's usually overwatering; if they wilt, the plant needs more moisture immediately.
☀️ Step 5: Monitor and Adjust Light Exposure
Watch the transplanted phlox for 3 days to see how it handles the new location. If leaves scorch in afternoon sun, provide temporary shade with a lightweight fabric shade cloth for 1-2 hours daily. Phlox can handle full sun, but sudden exposure after transplanting can cause stress.
After 2 weeks, gradually increase sunlight exposure by 1 hour daily until the plant is back in full sun. You'll see the difference in 10-14 days—stronger stems, darker leaves, and continued blooming. This slow transition mimics natural conditions and prevents transplant shock.
Tips & tricks for transplanting blooming phlox without shock
Moving phlox while it's in bloom doesn't have to be risky—these pro tips keep your plants thriving through the transition.
Timing is Everything: The two-day pruning window in Step 2 is critical—this isn't just about reducing foliage, it's about giving your phlox a metabolic reset. When you remove one-third of the oldest stems, you're essentially telling the plant, "Focus on roots, not flowers." I've seen phlox recover beautifully after this prep, but if you skip it, you risk shock from the double stress of transplanting and still trying to support blooms. Trust me, the flowers will bounce back stronger after the roots establish.
Root Ball Rescue: In Step 3, that 6-8 inch dig radius might seem generous, but it's the difference between a stressed plant and one that thrives. The goal is to keep that intact root ball—think of it like moving a houseplant. If roots break during lifting, trim them cleanly with shears (never tear them) and you'll maintain 90% of the root system's functionality. I've had to replant phlox with broken roots, and while they recover, they never bloom as vigorously that season.
Post-Transplant Hydration Strategy: The 3-week moist-but-not-soggy window in Step 4 requires daily soil checks. Stick your finger 3 inches down—if it feels dry, water immediately. If it's still damp, wait another day. I use a moisture meter for my garden beds because phlox roots can't handle inconsistency. The key is mimicking natural rainfall patterns after transplanting, which helps roots expand without drowning.
Light Transition Hack: That gradual 1-hour daily increase in sunlight exposure after 2 weeks? It's not just about avoiding scorching—it's about acclimating the plant's photosynthetic system. Phlox leaves produce less chlorophyll when suddenly exposed to full sun after transplanting. By easing them back into sunlight, you're helping them rebuild their energy reserves faster. I've seen phlox that would've wilted in full sun immediately rebound beautifully with this method.
Pro Tips for Can You Transplant Phlox While Blooming
- Moving phlox while it's in bloom doesn't have to be risky—these pro tips keep your plants thriving through the transi...
- Timing is Everything: The two-day pruning window in Step 2 is critical—this isn't just about reducing foliage, it's a...
- Root Ball Rescue: In Step 3, that 6-8 inch dig radius might seem generous, but it's the difference between a stressed...
Frequently asked questions
Got questions about transplanting phlox while it’s in full bloom? You’re not alone! Here are some of the most common concerns—and their stress-free solutions.
Can I transplant phlox while it’s blooming without killing it?
Yes, but with care! Phlox can handle transplanting while blooming, but the key is to minimize stress. Trim back about 1/3 of the blooms and foliage before moving it, and water deeply the day before and after. Choose a cool, overcast day to reduce shock. Most phlox bounce back within 2-3 weeks if given proper aftercare!
What’s the best time of day to transplant blooming phlox?
Transplant in the early morning or late afternoon to avoid peak sun and heat stress. Mornings allow roots to settle before the day’s heat, while evenings give plants time to recover overnight. Avoid midday—phlox is sensitive to wilting, and transplant shock + heat can be deadly. Pro tip: Mulch heavily after transplanting to retain moisture!
Should I water differently after transplanting blooming phlox?
Water thoroughly but gently—no blasting the roots. Aim for 1-2 inches of water per week (including rain), keeping soil consistently moist (not soggy) for the first 2 weeks. Use a soaker hose or drip irrigation to avoid disturbing the soil. Yellowing leaves? That’s a sign of overwatering or stress—adjust as needed!
What if my phlox looks sad after transplanting while blooming?
Don’t panic! Some wilting or dropped blooms are normal. To revive it:
- Trim damaged foliage (but leave healthy stems).
- Apply a balanced fertilizer (like 10-10-10) 2 weeks post-transplant.
- Keep it shaded for 3-5 days if leaves look crispy.
- Watch for pests—aphids or spider mites love stressed plants!
Is there a better time to transplant phlox than during bloom?
Ideally, early spring or fall (when temps are mild) is best for phlox transplanting. But if you’re moving it now, blooming or not, the techniques above work! Just note: Transplanting in summer heat (especially July-August) increases shock risk. If possible, wait until late summer when blooms fade naturally for easier recovery.
Wrapping up and next steps
Transplanting phlox while blooming is totally doable with the right approach! By following stress-free techniques—like pruning spent blooms, watering deeply, and choosing the right timing—you can give your plants a smooth transition without shock. Remember, patience and preparation are key to keeping your garden vibrant and thriving.
Ready to give it a try? Start by prepping your new spot, gathering your tools, and scheduling your transplant on a cool, cloudy day. Your phlox will thank you with a burst of color for seasons to come! 🌸✨