
Blooming
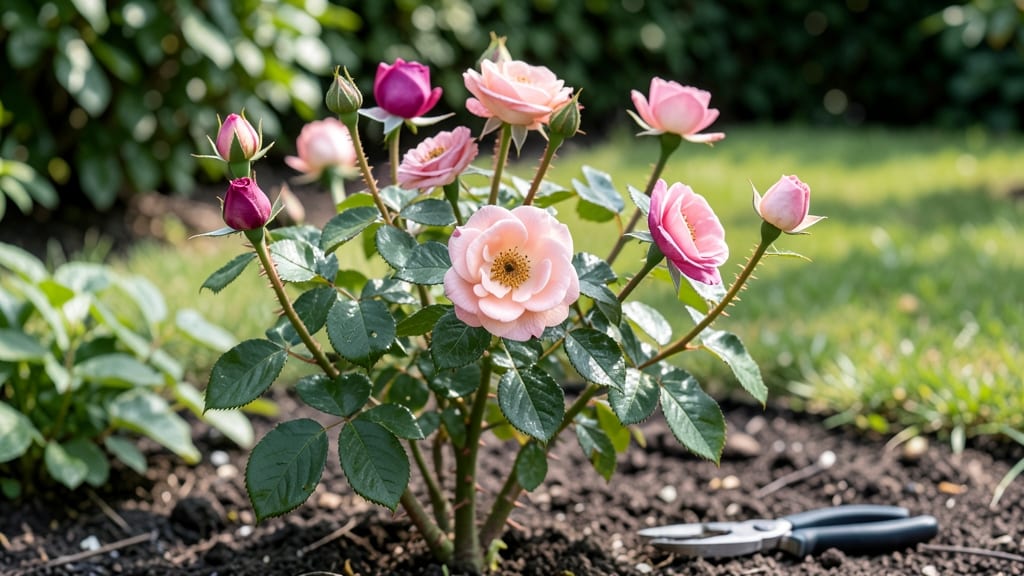
Cold-hardy perennials that bloom and grow without extra effort are the ultimate gardener’s dream—no digging, no fuss, just more plants every year. 🌿 I’ve watched my garden fill itself with lavender, coneflowers, and sedum, all spreading naturally while handling winter like pros.
These plants thrive in tough conditions, multiply on their own, and come back stronger each spring.
The secret lies in their roots—deep, resilient systems that store energy for years. Most need full sun to part shade, well-draining soil, and minimal water once established. Forget monthly fertilizers; these perennials reward patience with vibrant blooms and lush foliage that outlasts annuals.
My go-to trio? Black-eyed Susans, Russian sage, and creeping thyme—they spread effortlessly and handle drought like champs.
By mid-summer, you’ll see baby plants popping up around the edges, ready to take over (in the best way). Prune spent blooms to encourage more flowers, and watch as your garden fills with colorful clusters that attract pollinators.
No replanting, no guesswork—just natural expansion that turns a few plants into a thriving display.
Works in any zone from 3 to 9, whether you’re a beginner or a seasoned gardener. Here’s how to pick the right ones for your space—and let nature do the rest.
📚 In This Guide
- What you need
- Instructions
- Tips and common mistakes
- Wrapping up and next steps
What you need
- ● Cold-hardy perennial plants: Choose from hostas, asters, daylilies, coneflowers, or sedum (3–5 plants per variety for optimal coverage). Opt for nursery-grown or bare-root varieties labeled for your USDA hardiness zone.
- ● Well-draining soil: Amend heavy clay with compost (1–2 bags per 10 sq ft) or a 50/50 mix of native soil and perlite for aeration.
- ● Mulch: 2–3 inches of shredded bark or straw (organic, weed-free) to retain moisture and regulate temperature.
- ● Garden tools: Trowel (for transplanting small divisions)
- ● Garden fork (to loosen compacted soil)
- ● Pruners (sterilized with rubbing alcohol)
- ● Gloves (heavy-duty for handling thorny plants like berberis)
- ● Watering supplies: Hose with adjustable nozzle OR drip irrigation kit (for consistent moisture)
- ● Watering can (5-gallon capacity for potted seedlings)
- ● Slow-release fertilizer: 10-10-10 or compost tea (1 tbsp per plant at planting time).
- ● Epsom salt: 1 tbsp dissolved in 1 gallon of water (monthly feed for magnesium-loving plants like hostas).
- ● Plant markers: Biodegradable labels or pebbles to track varieties (especially useful for self-seeding perennials like lupines).
- ○ Frost cloth: Lightweight fabric to protect young divisions during late frosts (optional for zones 3–5).
- ● Wildlife-friendly additions: Birdhouses or bat boxes (to deter pests naturally)
- ● Pollinator-friendly companion plants (e.g., bee balm or lavender)
Step-by-Step guide to establishing cold-hardy perennials that spread naturally
These resilient plants thrive in tough climates while expanding their own colonies—here's how to set them up for success.
🌱 Step 1: Select and Prepare the Planting Site
Choose a location with 6+ hours of sunlight daily and well-draining soil—these perennials despise soggy roots. I always test drainage first by digging a 12-inch deep hole and filling it with water; if it doesn't drain within 2 hours, amend with 2-3 inches of compost mixed into the top 6 inches of soil.
Clear any competing grass or weeds within a 2-foot radius—they'll steal nutrients from your new plants. The key is working with nature: cold-hardy perennials like creeping thyme and coral bells spread best when undisturbed. Mark the area with stakes to avoid accidentally disturbing the soil before planting.
✂️ Step 2: Divide and Plant Established Clumps
Purchase mature plants with visible healthy root systems and separate them into 3-4 inch sections, ensuring each piece has at least 3-5 leaves and 2-3 inches of roots. I always use a sharp knife to make clean cuts—ragged edges invite disease. Plant divisions 12-18 inches apart for spreading types like catmint or sedum.
Dig holes twice as wide as the root ball but only as deep—burying too deeply suffocates the crown. Gently loosen the roots if they're circling, then place the plant so the top of the root ball sits just below soil level. This ensures proper air circulation while preventing rot.
💧 Step 3: Water Deeply and Mulch for Winter Protection
Water immediately after planting to settle the soil and eliminate air pockets, then give 1 inch of water weekly for the first 4 weeks—until new growth appears. I use a soaker hose to deliver moisture directly to the roots without wetting the foliage, which reduces fungal risks.
Apply 2-3 inches of organic mulch (like shredded bark or straw) around each plant, keeping it 2 inches away from stems to prevent rot. This mulch layer acts as insulation: it protects roots from sub-zero temperatures while retaining moisture. In spring, I leave the mulch until new shoots emerge—then remove half to allow soil warming.
☀️ Step 4: Prune Strategically to Encourage Spread
Wait until late spring (after last frost) to cut back any dead or damaged growth from winter. For perennials that spread via runners (like creeping phlox), I trim back one-third of the oldest stems to redirect energy into new growth. This creates space for the plant to expand its colony naturally.
Here's the thing—don't over-prune. These plants thrive on their own momentum. I only intervene if growth becomes too dense; otherwise, let them spread. By mid-summer, you'll see new shoots appearing 6-12 inches away from the mother plant—that's your signal they're establishing successfully.
⏰ Step 5: Monitor and Divide Established Clumps Every 3-4 Years
After 3-4 years, your perennials will form dense clumps that crowd out their own centers. In early spring (before new growth starts), dig up the entire plant and separate it into 3-4 equal sections using a sharp spade. Replant the divisions immediately in fresh soil—they'll recover faster than you'd expect.
This division process rejuvenates the plants and gives you free new plants to share or expand your garden. I always keep one division in the original spot, one in a new location, and save the rest for friends—it's the easiest way to multiply your garden without spending a dime.
Tips & tricks for perfect cold-hardy perennial gardens
These simple strategies will help your hardy plants thrive and spread like wildfire—without the guesswork.
Soil Prep Secret: In Step 1, don't just test drainage—also check soil pH. Most cold-hardy perennials prefer slightly acidic to neutral soil (pH 6.0-7.0). If your soil tests higher, amend with peat moss or sulfur before planting. I've seen creeping thyme struggle in alkaline soil until I adjusted the pH—now it spreads aggressively.
Planting Precision: When dividing clumps in Step 2, focus on the root-to-leaf ratio. Each section should have a balanced proportion of roots to foliage—about 2 inches of roots for every 3-5 leaves. Uneven divisions often lead to weak growth. I always count leaves to ensure consistency across all sections.
Watering Wisdom: The 1-inch weekly watering in Step 3 works best with morning applications. Watering in the early hours reduces evaporation and fungal risks. For container-grown perennials, check soil moisture daily—they dry out faster than in-ground plants. A finger test (inserting your finger 1-2 inches deep) is more reliable than relying on a schedule.
Mulch Mastery: In Step 3, consider using a two-layer mulch system for extreme winters: start with 1-2 inches of straw for insulation, then top with 1 inch of shredded bark. The straw protects against sub-zero temperatures while the bark retains moisture. I've seen perennials survive -20°F winters with this method—even in zones where they shouldn't technically thrive.
Pro Tips for Blooming And Growing
- These simple strategies will help your hardy plants thrive and spread like wildfire—without the guesswork.
- Soil Prep Secret: In Step 1, don't just test drainage—also check soil pH. Most cold-hardy perennials prefer slightly ...
- Planting Precision: When dividing clumps in Step 2, focus on the root-to-leaf ratio. Each section should have a balan...
Frequently asked questions
Got questions about nurturing cold-hardy perennials that multiply on their own? You’re in the right place! Here are answers to the most common queries to help you bloom and grow with confidence.
How do I know if my perennial is truly multiplying naturally?
Look for clumps forming around the parent plant or new shoots emerging from the soil nearby. Some perennials, like hostas or daylilies, send out rhizomes (underground stems) or runners (above-ground stems). If you see these, your plant is thriving—and sharing the love! Dig gently to check for baby plants before they get too crowded.
Can these perennials survive harsh winters without extra protection?
Yes! Cold-hardy perennials like coneflowers, black-eyed Susans, and sedum are bred to thrive in freezing temps (often zones 3–9). Most need no mulch or insulation, but a 2–3 inch layer of organic mulch (like shredded leaves) can protect roots from extreme fluctuations. Avoid heavy mulch—it can suffocate plants in spring.
How long does it take for perennials to establish and multiply?
Patience is key! Most perennials take 1–3 years to fully establish before multiplying vigorously. Fast growers like mint or creeping thyme may spread in a season, while slower types (e.g., peony) take longer. Focus on consistent watering and well-draining soil to speed up the process.
What should I do if my perennial isn’t multiplying?
Start with the basics: sunlight, water, and soil health. Overcrowding, poor drainage, or nutrient deficiencies can stunt growth. Try dividing mature clumps every 3–4 years to rejuvenate them. If pests (like slugs) or diseases (like powdery mildew) are present, address them early—healthy plants multiply best!
Can I control how fast my perennials spread?
For aggressive spreaders (like mint or lamb’s ear), contain them with root barriers or plant them in containers. For slower growers, divide them annually to encourage fuller blooms. Regular pruning also helps manage size—just avoid cutting back too late in the season.
Wrapping up and next steps
Your garden doesn’t need to be a mystery—cold-hardy perennials that multiply naturally are the secret to effortless blooms year after year! 🌱 From hostas to daylilies, these resilient plants thrive with minimal fuss, rewarding you with lush growth and vibrant colors.
Whether you’re a seasoned gardener or just starting, now’s the perfect time to embrace their self-sustaining magic.
Ready to bloom and grow with confidence? Start small—pick one or two perennials to test in your space, then watch (and learn!) as they spread. Your future garden is waiting! 🌸