
Blooming
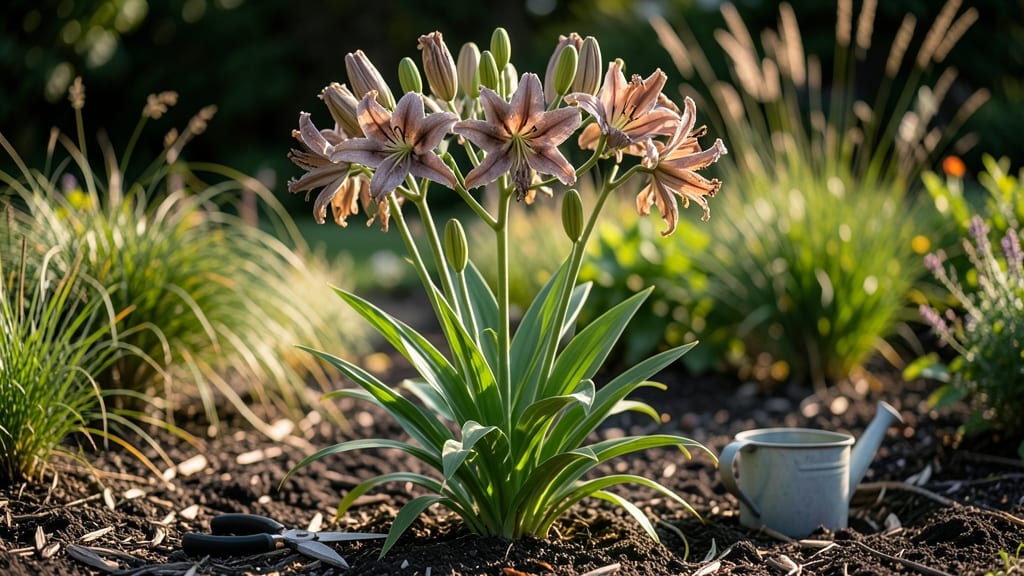
After Asiatic lilies finish their showstopping summer display, the real work begins. ✨ Those spent blooms hold the secret to next year’s boldest colors—if you know how to save the seeds properly. I’ve turned my post-bloom cleanup into a seed-saving system that guarantees vibrant, true-to-type lilies year after year.
The first step is deadheading, but not just any snip—cut stems 2 inches below the faded bloom to encourage bulb strength for dormancy. Then comes the tricky part: seed pods. Let 3-5 of the healthiest blooms develop seeds while removing the rest to redirect energy.
By late summer, you’ll have plump, brown pods ready for harvest—no fancy equipment needed, just patience and a dry spot to cure them.
What you’ll end up with is a collection of seeds that produce lush, repeat-blooming lilies in just 2-3 years. The bulbs themselves grow stronger each season, and your garden becomes a rainbow of deep reds, fiery oranges, and sunny yellows that neighbors will envy.
The best part? These saved seeds cost pennies per bulb compared to store-bought.
Works for both in-ground beds and containers, and the same method applies to other Asiatic varieties. Here’s exactly how to do it without losing any blooms—or your sanity—next season.
📚 In This Guide
- What you need
- Instructions
- Tips and common mistakes
- Wrapping up and next steps
What you need
- ● Mature Asiatic lilies (preferably healthy, disease-free plants with fully developed seed pods)
- ● Pruning shears or sharp scissors (sterilized with rubbing alcohol)
- ● Brown paper bags or breathable mesh sacks (for collecting and drying seed pods, ~5-10 bags depending on yield)
- ● Plastic or glass containers with lids (for seed storage, airtight but not sealed—think small jars or Tupperware)
- ● Permanent marker or labels (to mark varieties and harvest dates)
- ● Compost or garden waste bin (for discarding spent blooms and foliage)
- ● Seed drying tray or screen (to speed up drying if humidity is high)
- ● Fine-mesh strainer (for separating seeds from chaff)
- ● Humidity pack (silica gel) (to prevent mold in storage)
- ● Digital scale (for tracking seed weight if experimenting with germination rates)
- ● Gloves (to protect hands from sap if sensitive)
- ● Patience—Asiatic lily seeds take 6-12 months to mature!
- ● Dry, well-ventilated space (for drying pods, ~4-6 weeks)
- ● Cool, dark storage (ideal temp: 40–50°F)
- ● Knowledge of your lily’s variety (some hybrids don’t produce viable seeds)
How to care for Asiatic lilies after bloom for seed saving success
Here's how I transform fading Asiatic lilies into next season's vibrant blooms through simple seed-saving techniques.
🌱 Step 1: Identify and Select Healthy Seed Pods
Wait until the flower stems have completely browned and dried back after blooming—this usually takes 4-6 weeks after the last petal falls. Look for seed pods that are plump and firm rather than shriveled or cracked; these will contain viable seeds. I focus on the largest, healthiest pods from the strongest stems, as they'll produce the most vigorous offspring.
Gently twist the mature pods between your fingers to release them from the stem. Place them in a paper bag and store in a cool, dry location (around 50-60°F) for 2-3 weeks to complete drying. This prevents premature seed germination and ensures maximum viability. If you harvest too early, seeds may sprout inside the pod and become unusable.
💧 Step 2: Extract and Clean the Seeds
Once the pods are fully dry, open them carefully with a small knife or your fingers. You'll find flat, dark brown seeds inside, each about ½ inch long. I spread the seeds on a clean, dry surface and use a soft brush to remove any remaining pod fragments or debris. This step is crucial—leftover pod material can harbor mold and reduce germination rates.
For best results, store the cleaned seeds in an airtight container with a silica gel packet to absorb moisture. Label the container with the variety name and harvest date. I keep mine in a cool, dark place until spring planting. Properly stored seeds remain viable for 2-3 years, though I always plant them as soon as possible for the best germination.
☀️ Step 3: Stratify Seeds for Improved Germination
Asiatic lily seeds benefit from a cold stratification period to mimic natural winter conditions. Place the seeds in a plastic bag with a damp paper towel, seal it loosely, and refrigerate for 8-12 weeks at 35-40°F. Check the towel weekly—it should stay moist but not soggy. If it dries out, mist it lightly with water.
After stratification, plant the seeds ½ inch deep in a well-draining seed-starting mix. I use sterilized potting soil mixed with perlite to prevent rot. Keep the soil consistently moist (not wet) and place the container in a warm, bright location (around 65-70°F). Germination typically occurs in 4-8 weeks, though some seeds may take longer—patience is key here.
✂️ Step 4: Transplant Seedlings and Prepare for Outdoor Planting
Once seedlings develop 2-3 true leaves (not just the initial cotyledons), they're ready to move to 3-4 inch pots. I use individual containers to prevent root competition and transplant shock. Fill the pots with the same light, well-draining mix and water gently to settle the soil around the roots.
Hardening off begins 2 weeks before the last frost date. Place seedlings outside in a sheltered, shaded spot for 1-2 hours the first day, gradually increasing exposure over 10-14 days. Watch for wilting or yellowing leaves—these are signs they're not ready for full sun yet. Once hardened off, transplant to the garden in well-draining soil and a sunny location with at least 6 hours of light daily. Mulch around the base to retain moisture and protect roots.
🌿 Step 5: Maintain Seedlings for First-Year Growth
The first year focuses on foliage development, not blooms. Keep soil evenly moist (about 1 inch of water per week) and fertilize lightly with a balanced, water-soluble fertilizer (10-10-10) every 4-6 weeks during the growing season. Asiatic lilies are heavy feeders, but over-fertilizing can lead to weak stems and fewer blooms later.
I remove any flower buds that form in the first year to redirect the plant's energy into root and leaf growth. This ensures a stronger, more established plant for next season's blooms. By fall, the seedlings should be 12-18 inches tall with a healthy root system—ready to reward you with bold, vibrant flowers in their second year.
Tips & tricks for perfect Asiatic lily seed saving
Transforming spent blooms into next year's vibrant lilies takes patience—and these pro techniques ensure success.
Timing is Everything: The 4-6 week wait after blooming might feel long, but rushing this step is the fastest way to ruin your seeds. Look for pods that are completely brown and dry to the touch—if they still feel slightly moist or springy, they need more time. I've learned the hard way that harvesting too early means seeds that won't germinate or produce weak plants. Mark your calendar when flowers fade to track progress accurately.
Seed Pod Handling: When releasing pods from stems in Step 1, work gently but firmly—twisting too hard can damage the seeds inside. For stubborn pods, I use a small knife to make a tiny slit along the seam before twisting. Place pods in a paper bag (not plastic) to allow moisture to escape during the 2-3 week drying period at 50-60°F. This prevents condensation buildup that could trigger premature germination.
Stratification Secrets: During the 8-12 week cold treatment in Step 3, I place a small piece of cardboard between the plastic bag and refrigerator shelf to prevent seeds from sticking to cold surfaces. The damp paper towel should feel like a wrung-out sponge—never soggy. If condensation forms inside the bag, open it for 30 minutes to air out before resealing. This mimics natural winter conditions perfectly.
Transplanting Confidence: When moving seedlings to 3-4 inch pots in Step 4, I use a pencil to gently loosen the root ball before transferring. This prevents shock and encourages faster establishment. For hardening off, I increase exposure time by 30 minutes each day rather than the full 1-2 hours immediately—this gradual approach prevents stress that could stunt growth.
Pro Tips for Asiatic Lily After Bloom
- Transforming spent blooms into next year's vibrant lilies takes patience—and these pro techniques ensure success.
- Timing is Everything: The 4-6 week wait after blooming might feel long, but rushing this step is the fastest way to r...
- Seed Pod Handling: When releasing pods from stems in Step 1, work gently but firmly—twisting too hard can damage the ...
Frequently asked questions
Got questions about what to do with your Asiatic lilies after they bloom? You’re not alone!
Here are some of the most common concerns—and practical answers—to help you save seeds, extend the life of your plants, and prep for next season’s stunning blooms.
What should I do with the seed pods after my Asiatic lilies bloom?
Once your Asiatic lilies fade, the seed pods (follicles) will form. Leave them on the plant until they turn brown and dry—usually 6–8 weeks after blooming. Harvest them carefully to avoid scattering seeds prematurely. Store the pods in a paper bag until they split open naturally (this can take weeks!).
How long does it take for Asiatic lily seeds to mature?
Patience is key! Asiatic lily seeds won’t be ready for 6–12 months after blooming. The pods must fully dry and crack open to release viable seeds. If you’re eager for blooms, consider dividing bulbs instead—they’ll flower sooner than grown-from-seed plants.
Can I save seeds from Asiatic lilies, or do I need to buy new bulbs?
Yes, you can save seeds, but the resulting plants may not match the parent’s color or size. Asiatic lilies are hybrids, so seeds often produce unpredictable blooms. For consistent results, stick to dividing bulbs or purchasing certified varieties. Seeds are great for experimentation, though!
Why aren’t my Asiatic lilies producing seed pods?
Missing seed pods? A few culprits could be at play:
- No pollination: Lilies need bees or wind to transfer pollen. Hand-pollinate with a soft brush if needed.
- Over-fertilizing: Too much nitrogen = more leaves, fewer flowers. Use a balanced fertilizer (like 10-10-10) instead.
- Stress or age: Older bulbs or plants under stress (drought, poor soil) may skip flowering entirely.
Should I cut back the foliage after blooming, or leave it for seeds?
If you’re saving seeds, leave the foliage and pods intact until they’re fully dried. If not, you can cut back after the pods brown (but wait until late fall to avoid shocking the bulb). Never cut foliage immediately after blooming—it starves the bulb for next season!
Wrapping up and next steps
Caring for your Asiatic lilies after they bloom isn’t just about cleanup—it’s your secret to stunning, healthy blooms next season! 🌸 By mastering seed-saving techniques, deadheading, and soil prep, you’re setting the stage for a garden that bursts with color and vitality.
Whether you’re a seasoned gardener or just starting, every small step counts—so grab those gloves, embrace the process, and watch your lilies thrive.
Ready to take the next step? Start small—pick one technique from this guide (like seed extraction or soil enrichment) and try it this fall. Before you know it, your garden will be the talk of the neighborhood! 🌱